
I found some of this stuff at Walmart while browsing for other random things we needed to buy. I purchased a yard of the same material at a wholesale fabric store from Los Angeles and the fabric looks and feels the same — only at a fraction of the cost. Our local Joann does not sell these two with the correct gold print that we desire (they look like little dots on spandex).
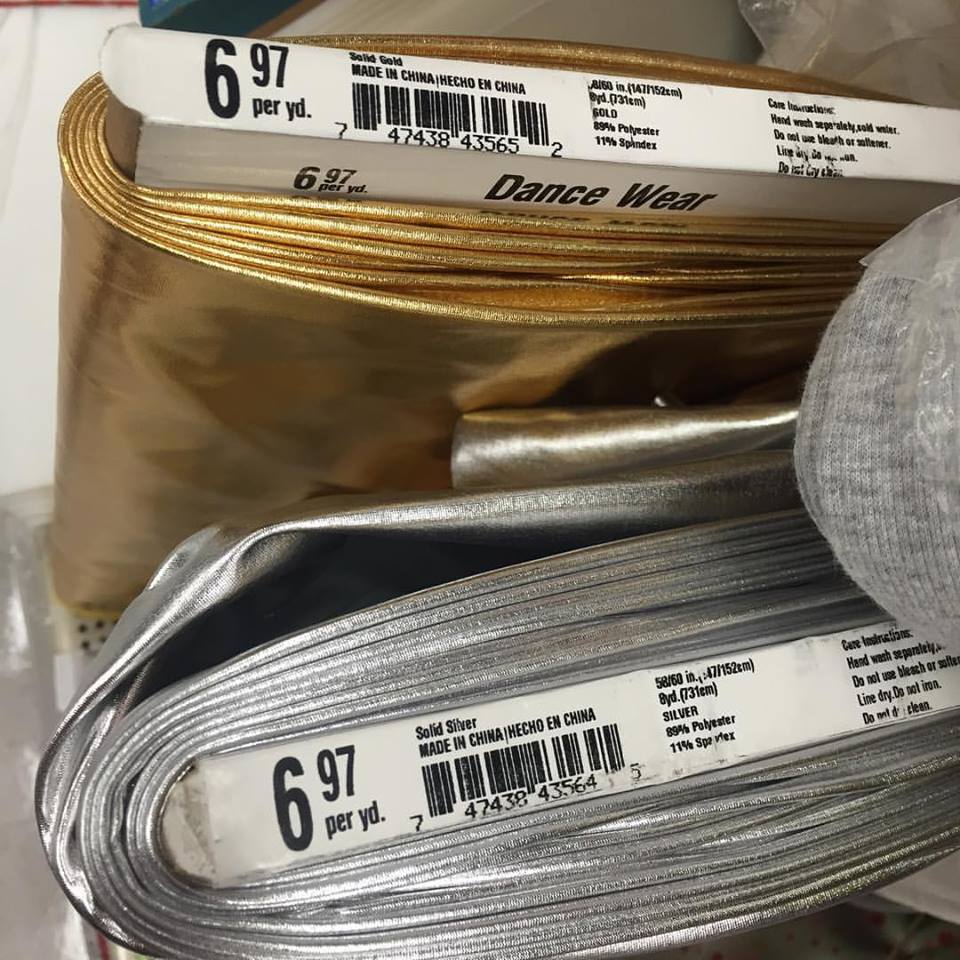
Image Credit to: Nefeni Cosplay
Try it out! What you’ll need:
-
Machine safe fusible tape (i.e. Heat-N-Bond Lite or Pellon Lite EZ Steam II)
-
Metallic Spandex
Optional:
-
Interfacing for your main fabric for added stability
-
Temporary stabilizer for your spandex (not necessary if you have a walking foot)
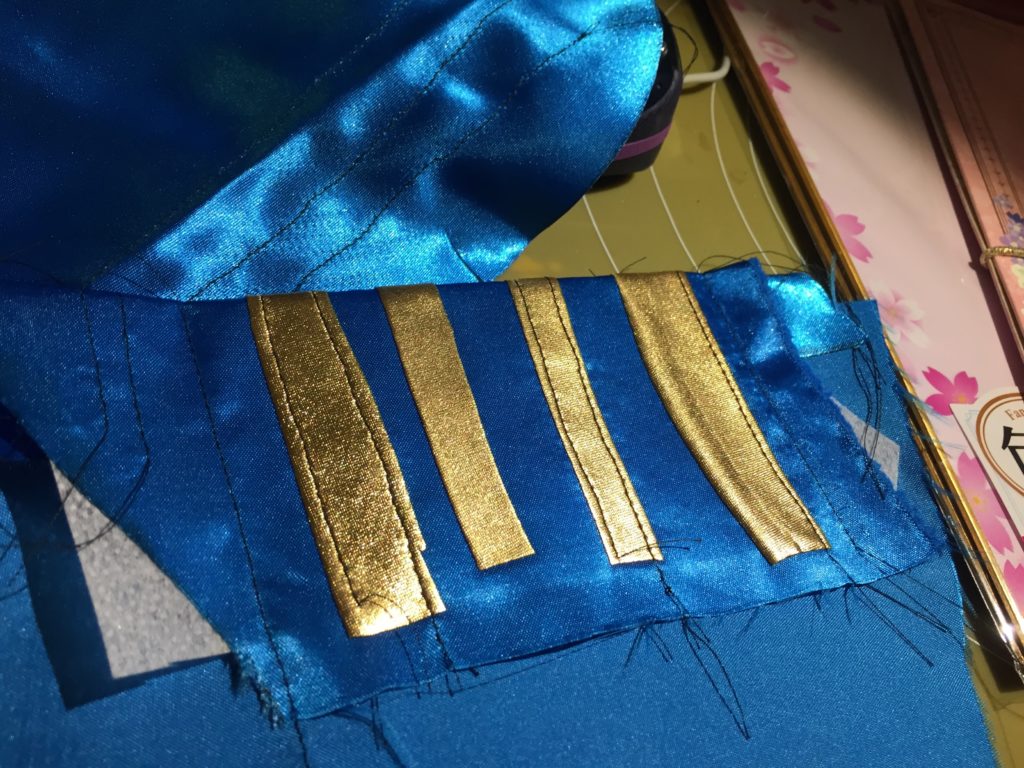
Directions for Trim:
- Iron one side of fusible tape to the wrong side of spandex according to the directions on the fusible tape package.
- Cut out the spandex carefully with a rotary cutter or fabric scissor.
- Remove the backing of the tape from the spandex.
- Place your trim onto the destination fabric.
- Iron the spandex to your destination fabric.
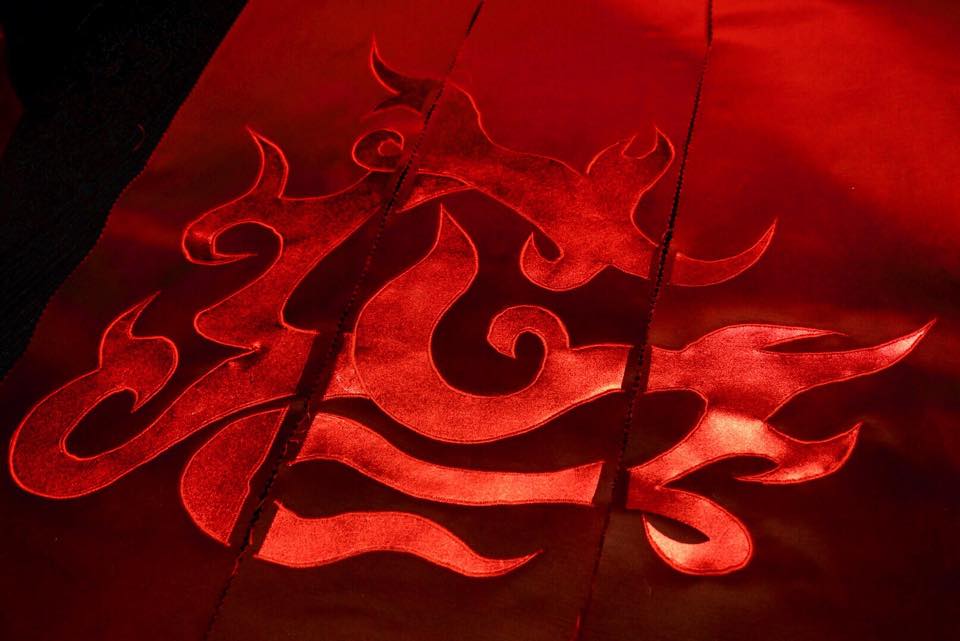
Directions for Applique:
- Cut enough spandex that you will use (i.e. a square or rectangle)
- Iron one side of a fusible sheet according to the package directions to the wrong side of spandex. Be gentle and use a low-medium heat setting on your iron. When in doubt, test on scrap first.
- Trace a pattern (or draw it) on the paper side of the fused sheet.
- Carefully cut out your pattern.
- Carefully remove the backing of the fusible sheet from your spandex. If it looks like the sheet is gummy or peeling off the fabric as you remove the backing, you will need to iron that portion again.
- Place the applique onto the destination fabric.
- Iron the spandex to your destination fabric.
Optional – To add stitch emphasis and stability on trim or applique: Use your machine’s default straight stitch function if you plan for no stretch or a small zig sag stitch for stretch allowance. I would recommend a 1/4″ allowance but you can go shorter if you’re careful not to sew away from the spandex edges.
In addition, you may also do a stitch followed by a satin stitch embroidery on top. If you do so make sure you have adequate interfacing or stabilizer so your destination MAIN fabric does not pucker up.
Spandex does not fray so use this to your advantage!
I ran a test on some scrap fabric…
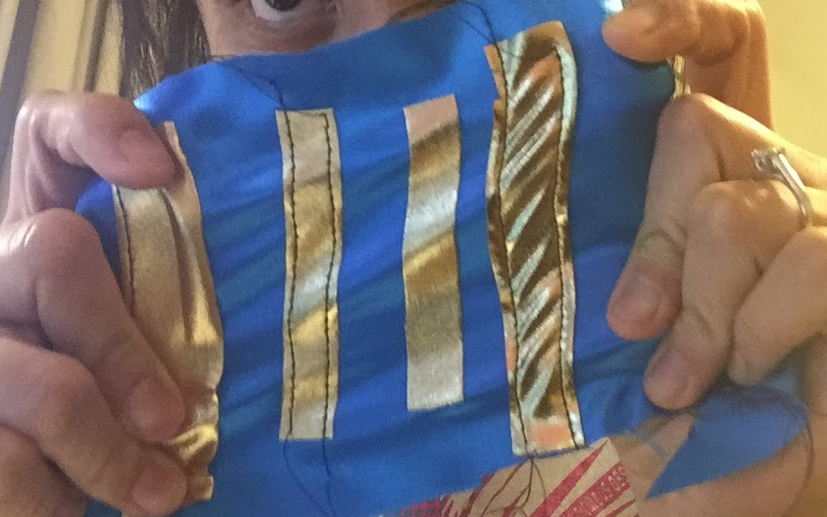
Gold spandex trim on polyester satin pictured from left to right:
-
Sewn with no fusible tape
-
Fusible tape, but not sewn
-
Sewn with fusible tape
-
Random test with part of the spandex with fusible tape + stitches
Also highly recommended… a walking foot for your sewing machine! This prevents slippery fabric from puckering as you sew, and eliminates the need for temporary stabilizer. It has its own set of feed dogs that complement the bottom ones already in your sewing machine.

Stretch test! Notice how the spandex on the far right has lots of wrinkles. This one has no fusible tape underneath.
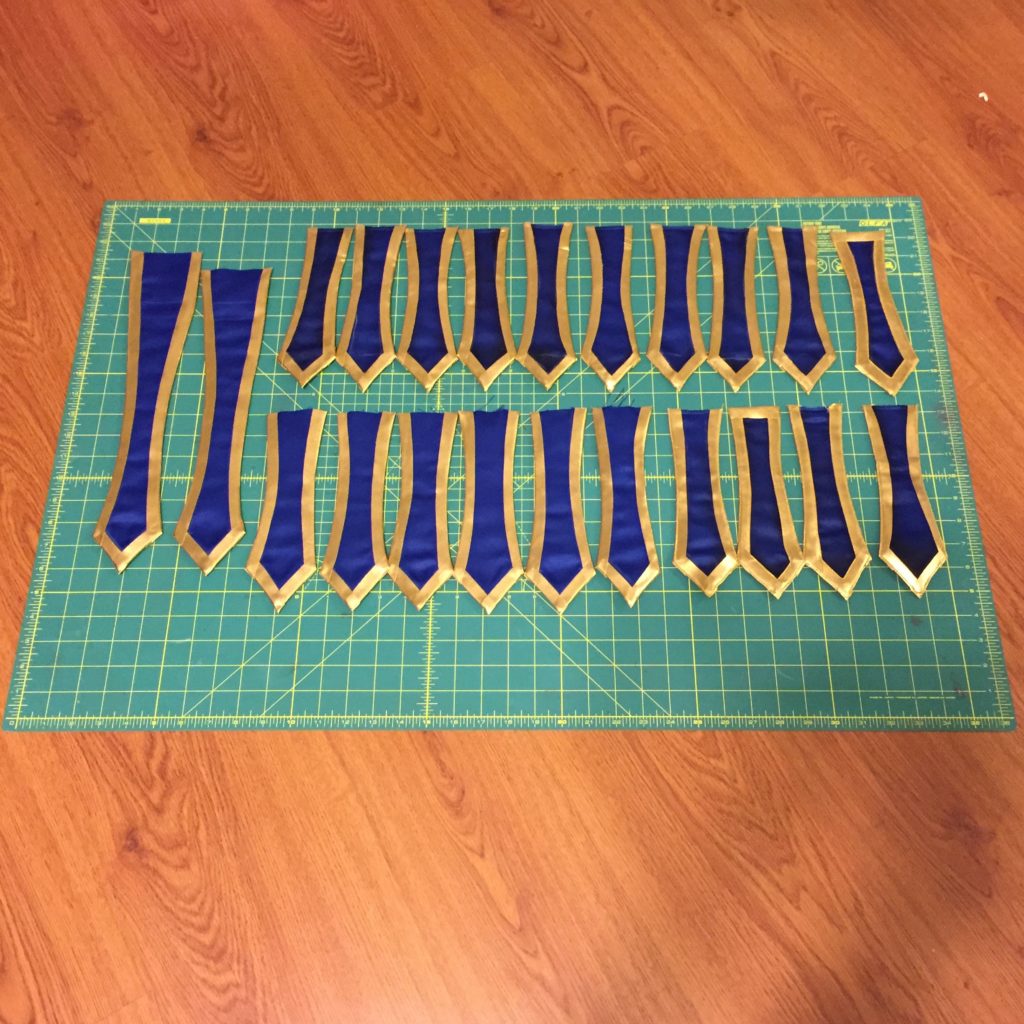
After running our tests, here’s how we applied it to this costume cape piece in progress. We used the even feed walking foot and HeatNBond lite sheets for larger and inconsistent width trims. Lite EZ-Steam II tape (1/2″ width) was used for straight line trims.
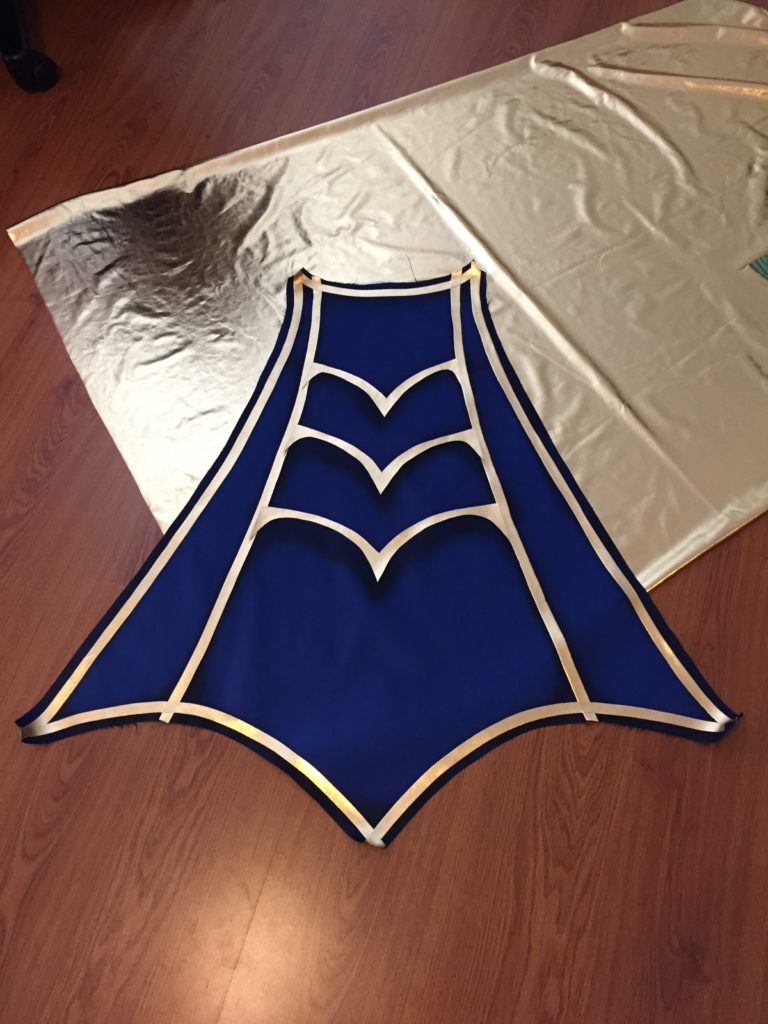
Lite EZ Steam II used for trims below