Download my FREE PDF pattern here!
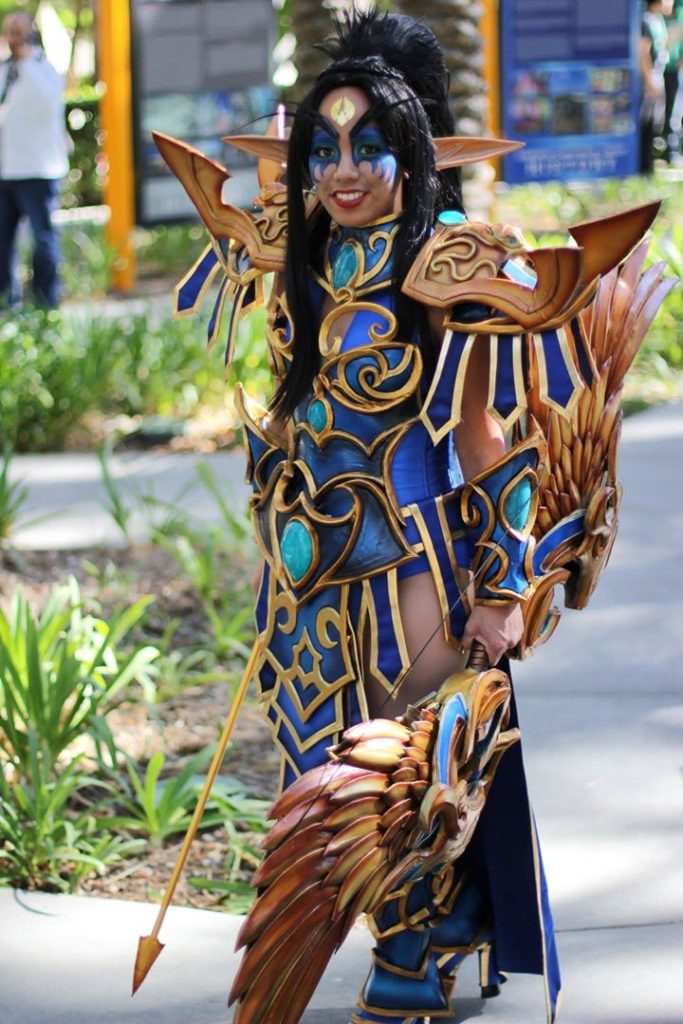
CestLaSara – Blood Elf Tyrande Bow
In my patterns, the black lines represent cut lines. In some more detailed patterns I draw, some black lines are major bevel edges. Red lines are for details and bevel edges.
Materials used:
- Worbla
- LEDs
- Heat Shrink Tubes
- 2mm Craft Foam Roll
- EVA Foam Mats
- About 5-6′ of PVC pipe (would recommend cutting it shorter as needed)
- Blue reflective tape
- Aqua EL Wire
- Leather strip for handle
- Superglue
- Epoxy Glue
- Airbrush paint of your choice
- Acrylic paint of your choice
- Duplicolor primer
- Mod Podge sealer
Tools used:
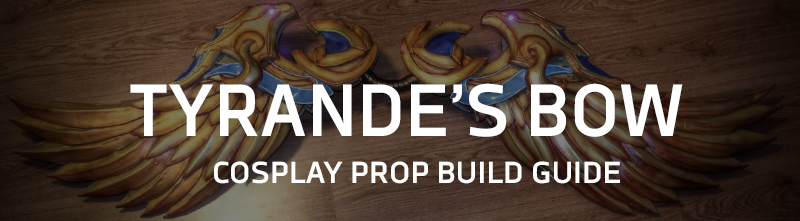
(Top) Natural lighting; (Bottom) With flash
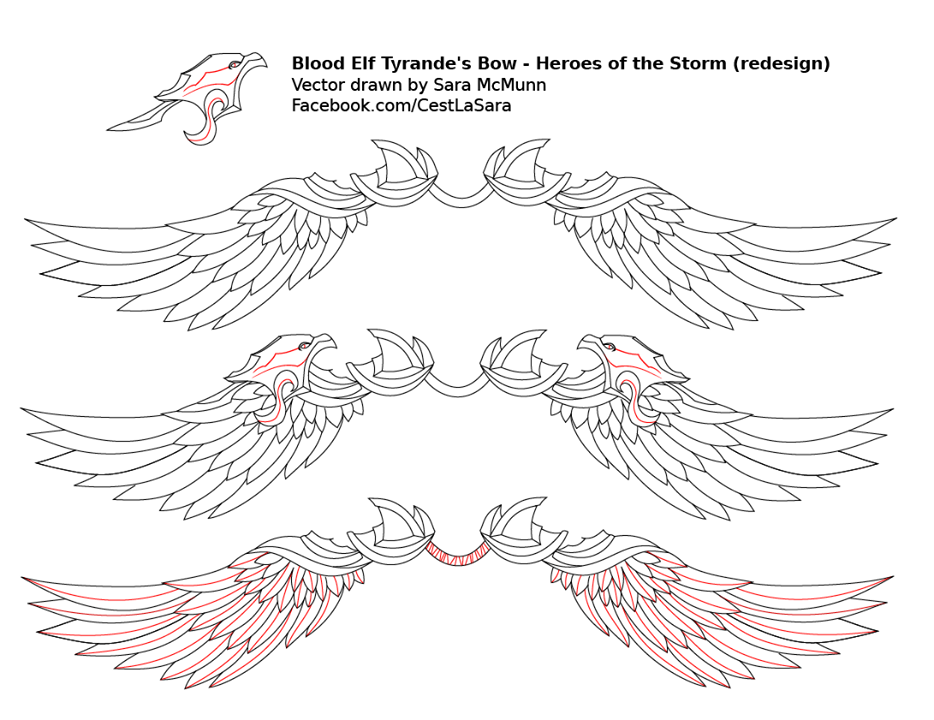
In my patterns, the black lines represent cut lines. In some more detailed patterns I draw, some black lines are major bevel edges. Red lines are for details and bevel edges.
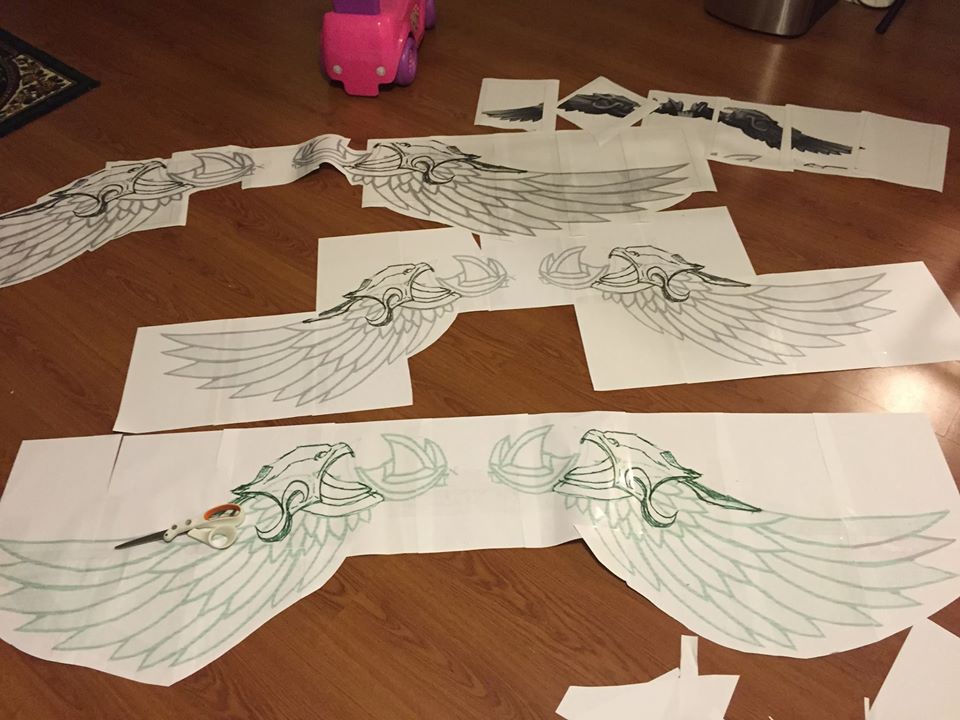
Print out multiple sizes to see which scaling you like! My patterns are easily adjustable for this purpose. At the time of this picture, I had not vectored out the pattern yet.
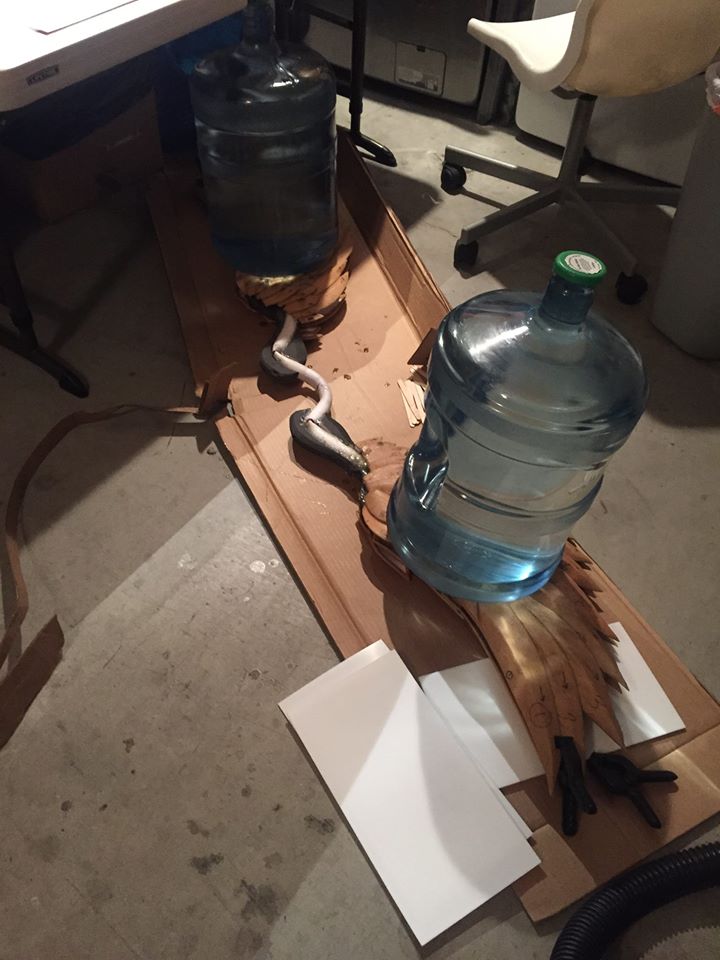
The base is made of PVC pipe with EVA foam mats inside, and each component of the bow was made with 2mm craft foam covered with 1 side of worbla.
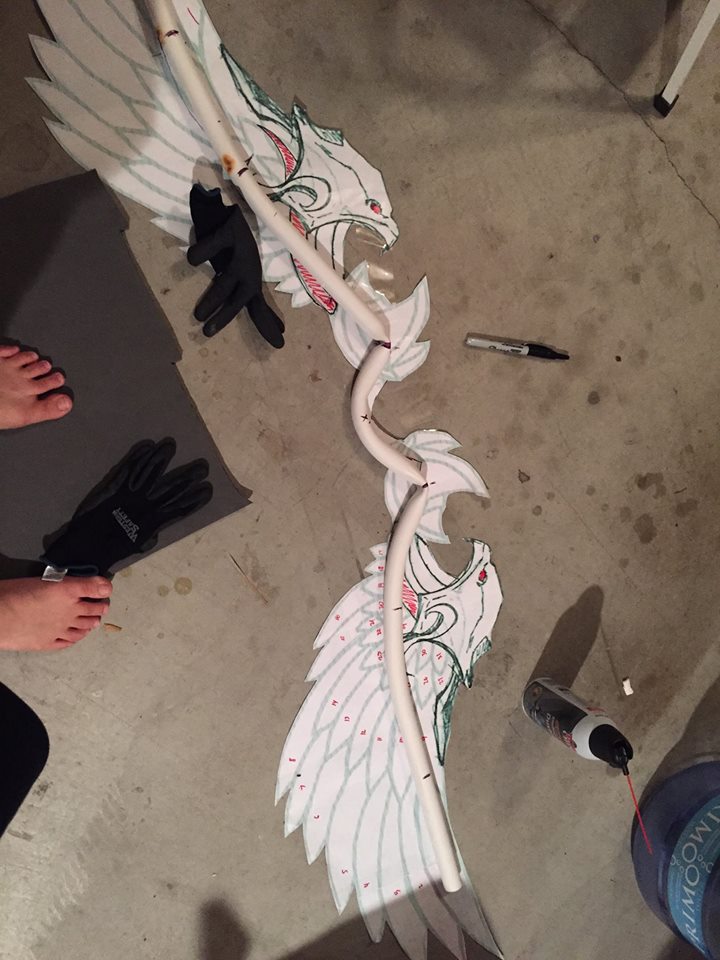
I used a heat gun to gently bend the PVC pipe at its highest tension points. I used the pattern template for guidance. PVC acts as the “bone” structure for the bow.
Two layers of EVA foam on both sides were cut as this supports the PVC and this is where the feathers will go.
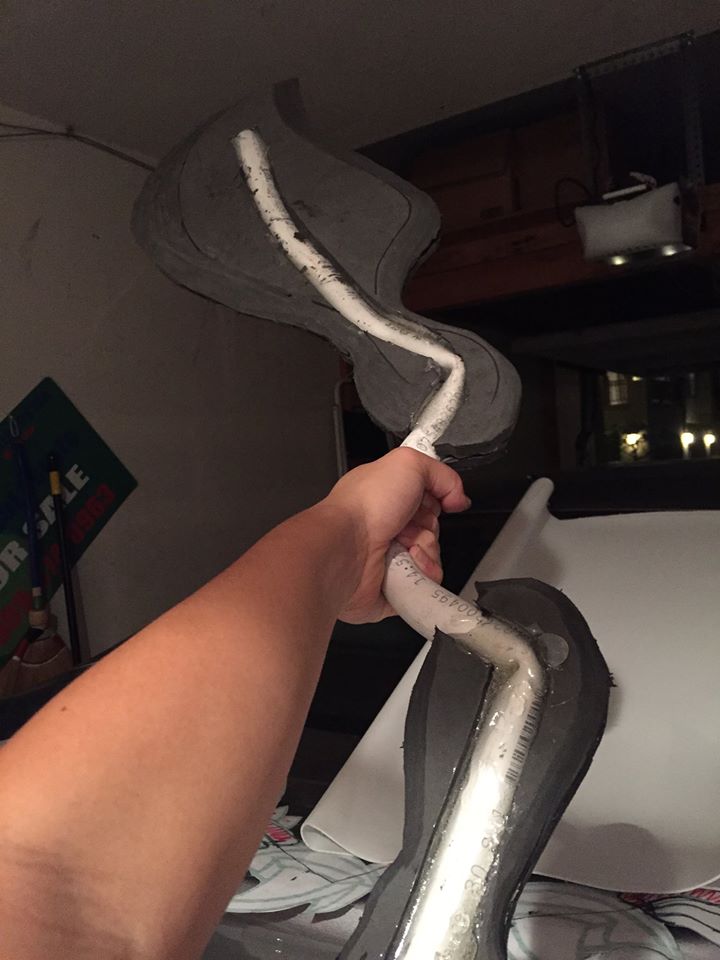
Edges have been dremel’ed down. I used 90 second Resin Epoxy Glue to secure the EVA foam to PVC. Hotglue simply doesn’t cut it as this is an extremely high pull tension area.
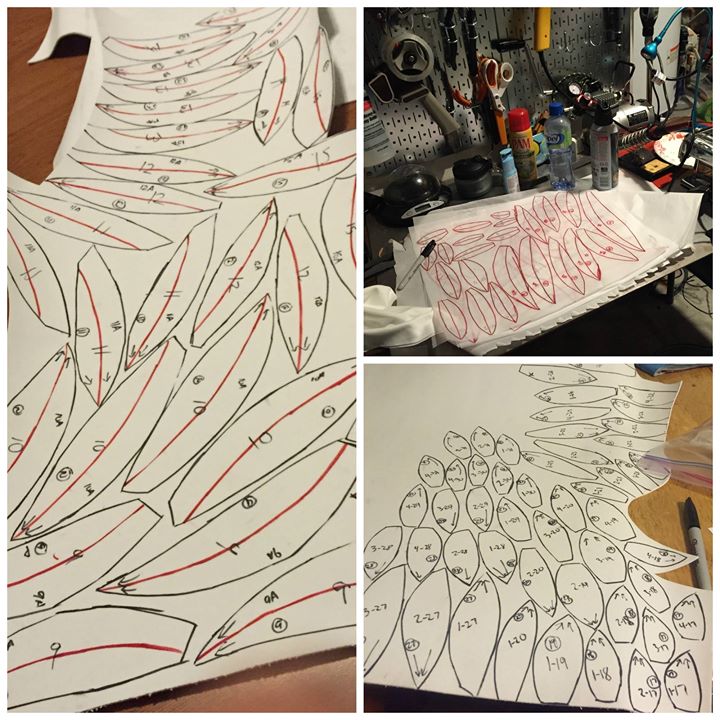
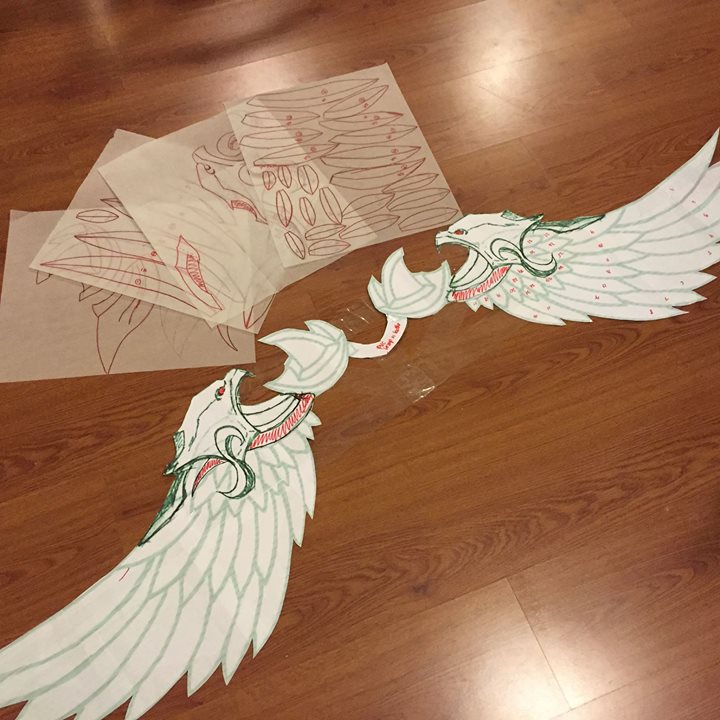
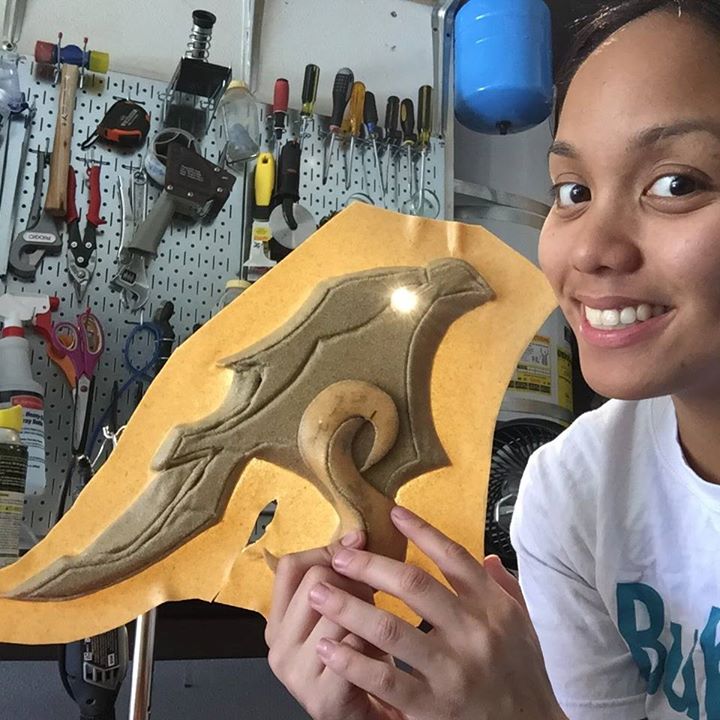
Cutting out individual feather patterns from tracing paper to foam. Where I drew red lines on the feathers – I cut them to create a beveled feather look.
About 80% of the bow was made entirely out of scrap material leftover from last year’s Pally Challenge mode costume scraps. Each feather was individually cut and wrapped with worbla scrap.
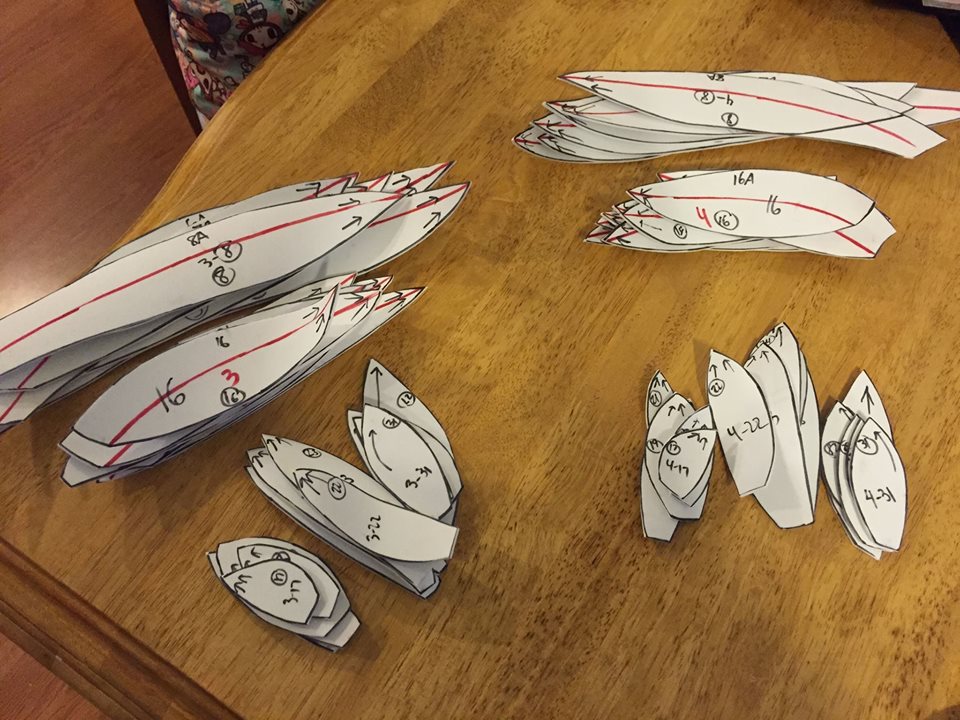
The feathers with red lines marked were then cut in half at those lines. This would help create the bevels in worbla.
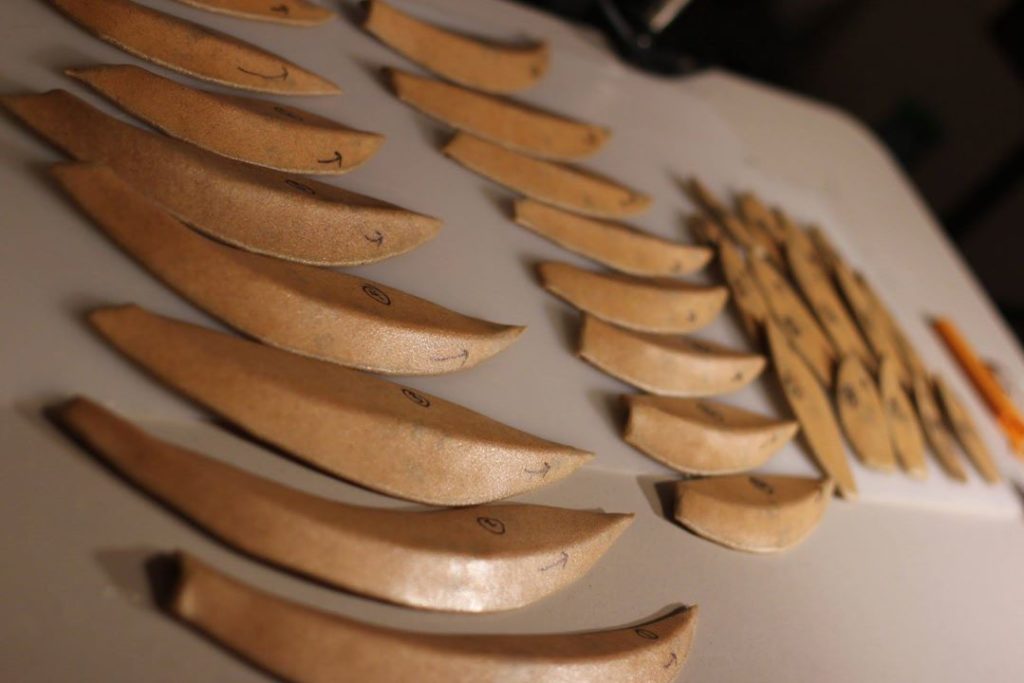
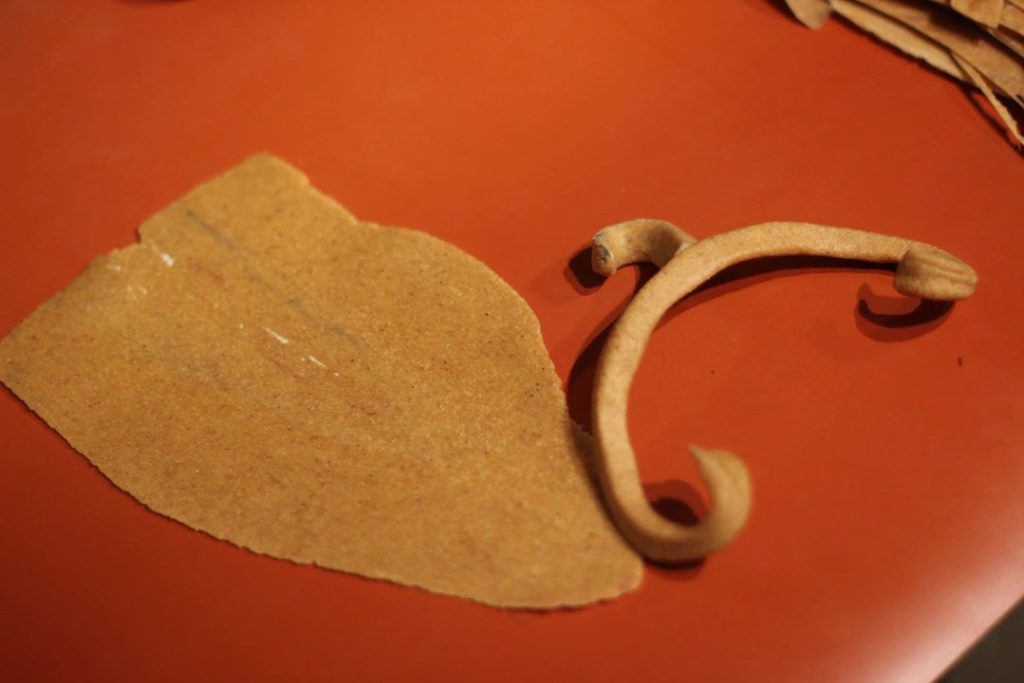
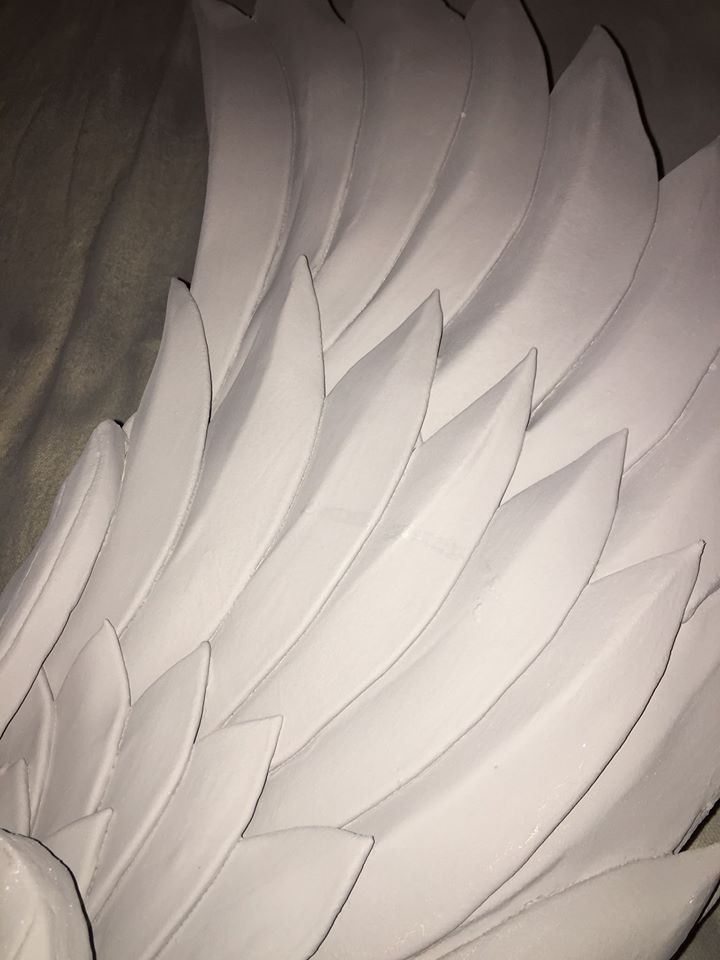
Results of beveled feathers
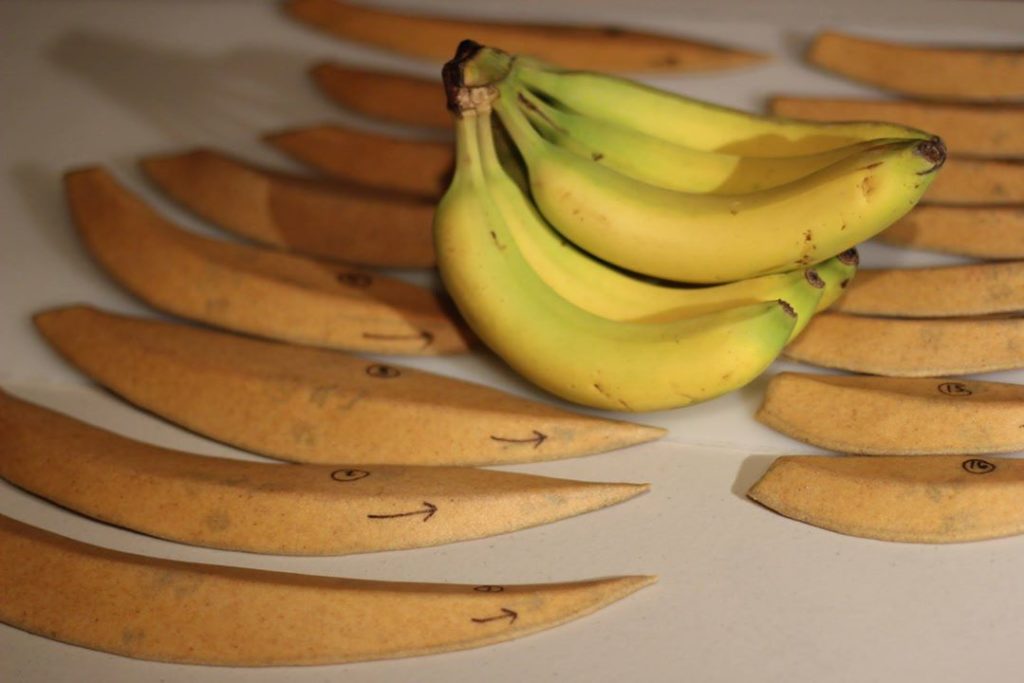
Bananas trying to hide among a sea of beveled feathers
All of the individual feathers were created with scrap worbla reused from previous projects. This amount of worbla sheet is equivalent to the failed bevel accent on the right.

Reusing scrap worbla like a boss! This was the last set of feathers I had to create, and last set of worbla ever in my possession at this moment!
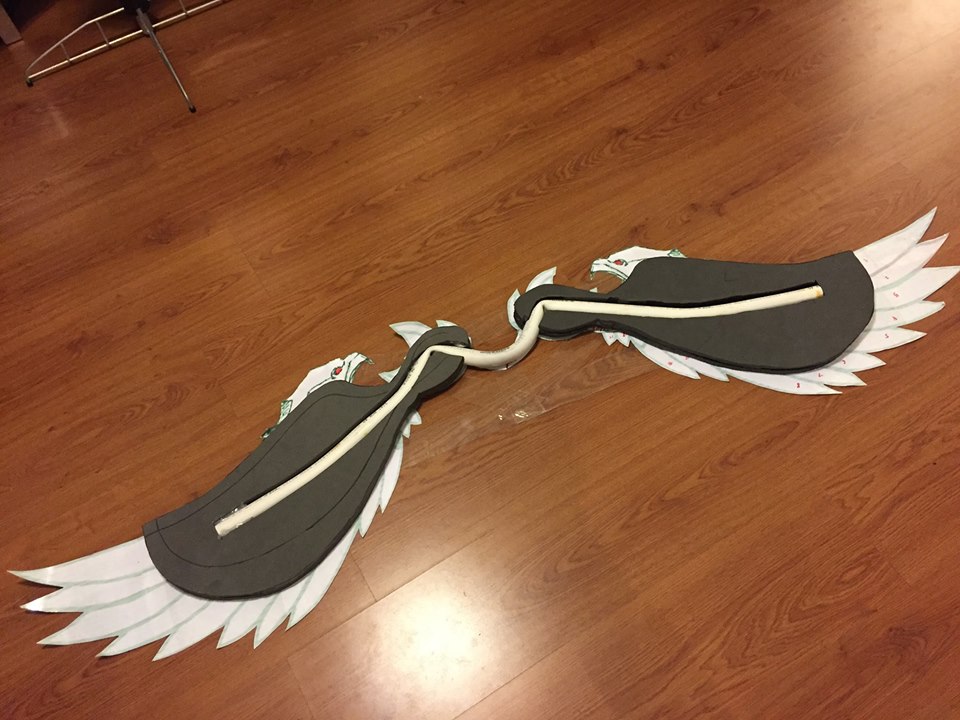
The feathers were made into 4 panels and then epoxy glue’d over the EVA foam mat base inside. This made the bow extremely stable and withstood punch force. The only drawback is that the bow became VERY heavy to handle thanks to the amount of epoxy glue used (~$50 worth of epoxy adhesives) and worbla.
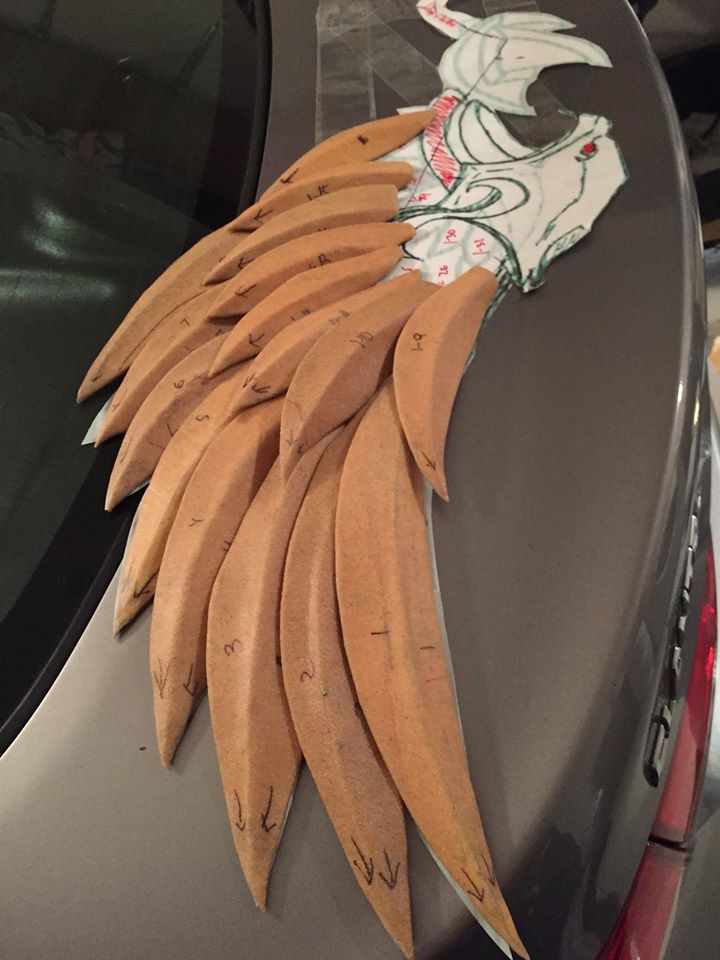
Aligning feathers with the template
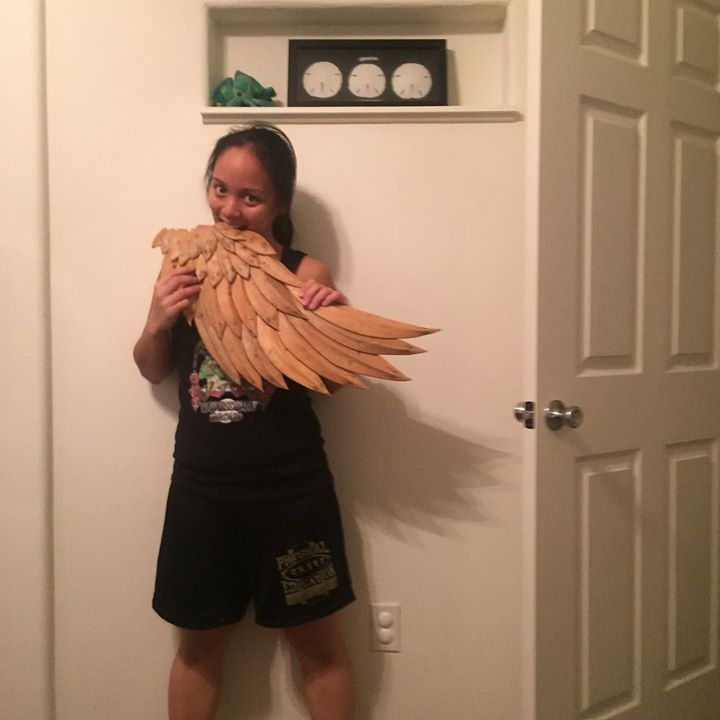
Eating a bunch of bananas!

The first bow preview with clips holding them together!
Setting in the bow after applying 90s epoxy resin
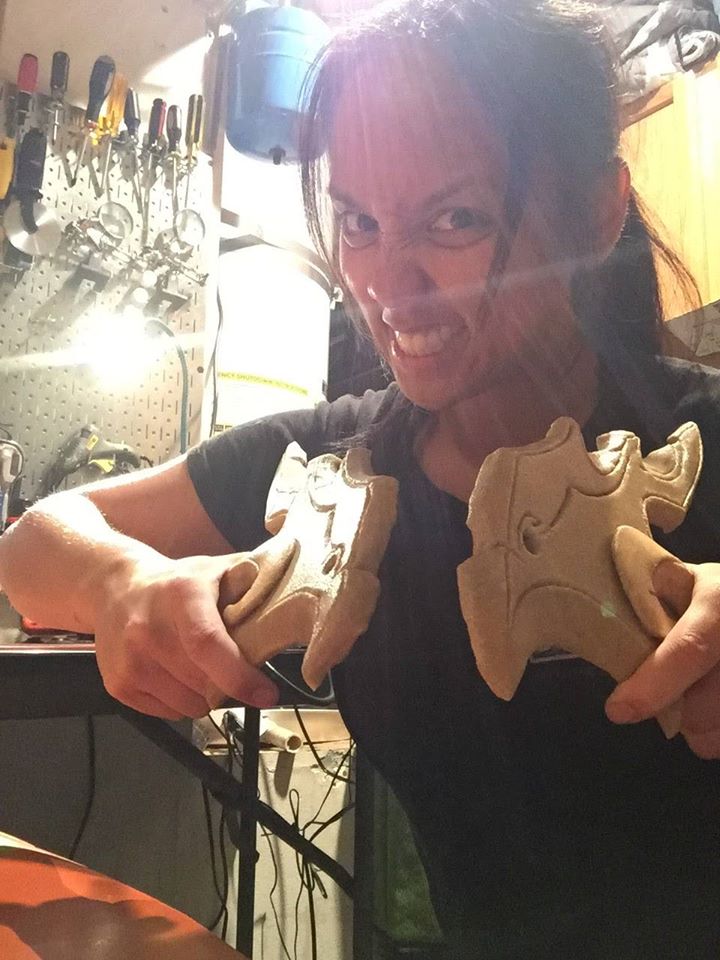
The eagle heads were the only ones not made of scraps as they required a slightly larger sheet size.
Don’t mess with my GUNZ
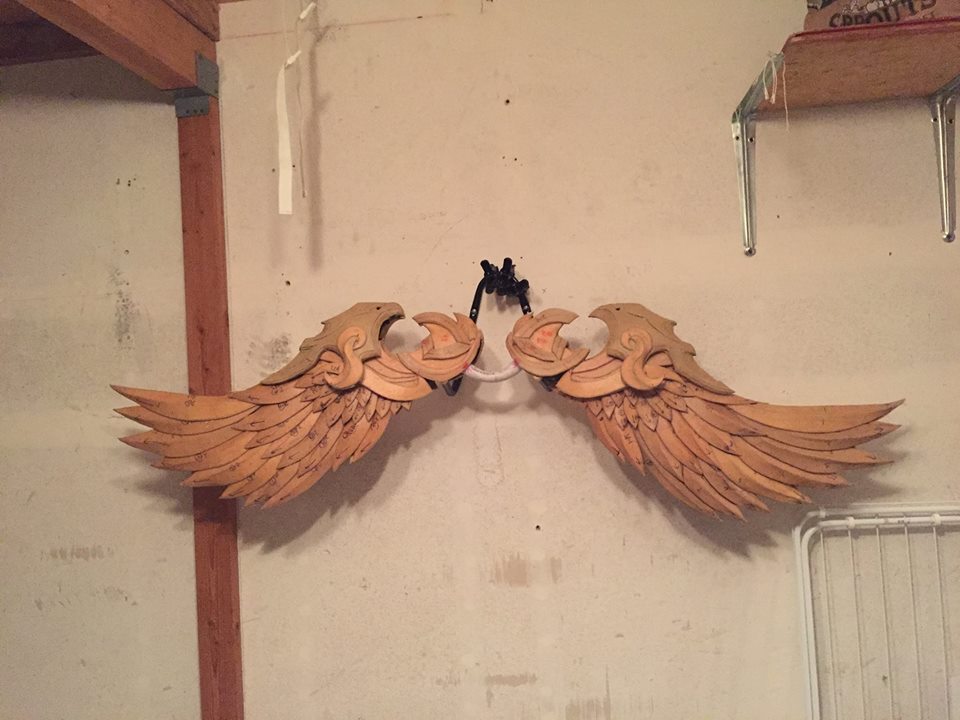
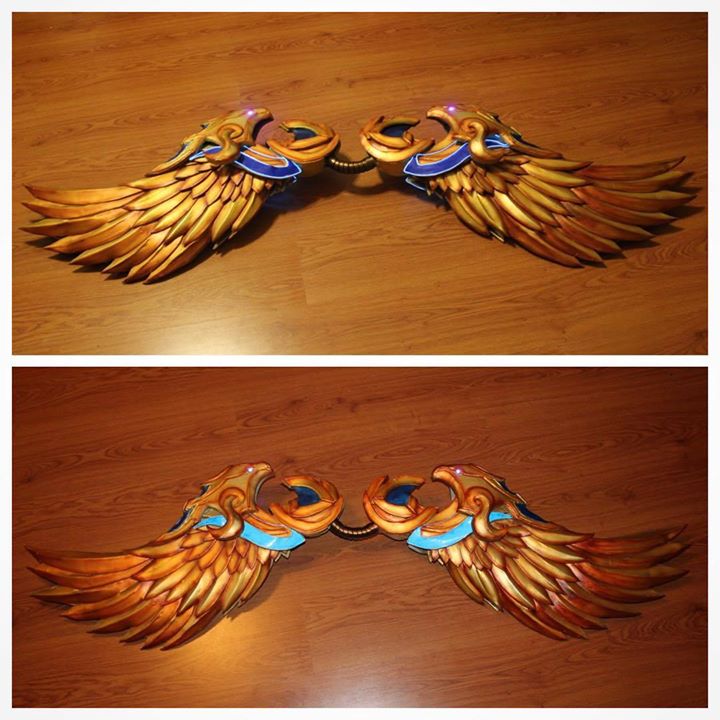
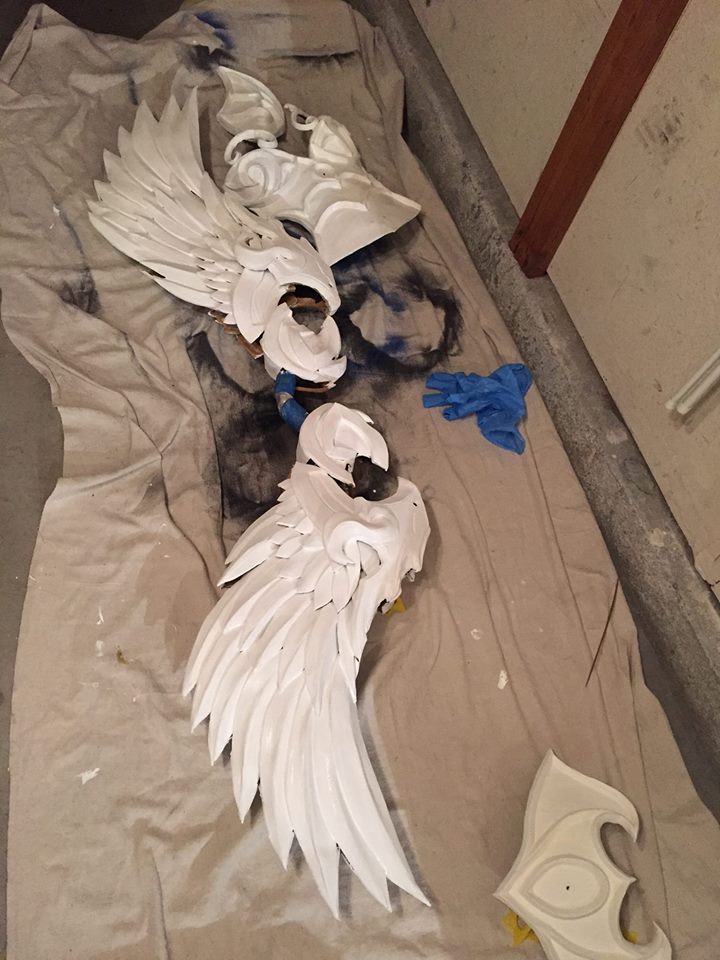
Completed bow structure before painting
The bow was then primed with Gesso layers and Duplicolor 2-in-1 primer (i found that this was my favorite brand). The bow was then spraypainted gold for the base color. I didn’t like the spray paint gold color as it looks pretty “stale” regardless of brand so I used a more yellow hue pearl color from Createx for airbrush paint on top of the base one. The brown accents were airbrushed as well with Createx Burnt Umber color. When I was happy with the paint job, the bow was sealed with layers of Mod Podge (the paint version, not the spray version).
The most boring aspect of worbla crafting is priming.
After completing the build, I wrapped leather trim around the handle and covered it with saran wrap and painter’s tape. This would protect the leather from paint residue.
Previewing the unpainted paint parts.
Detail of the gesso’ed bow
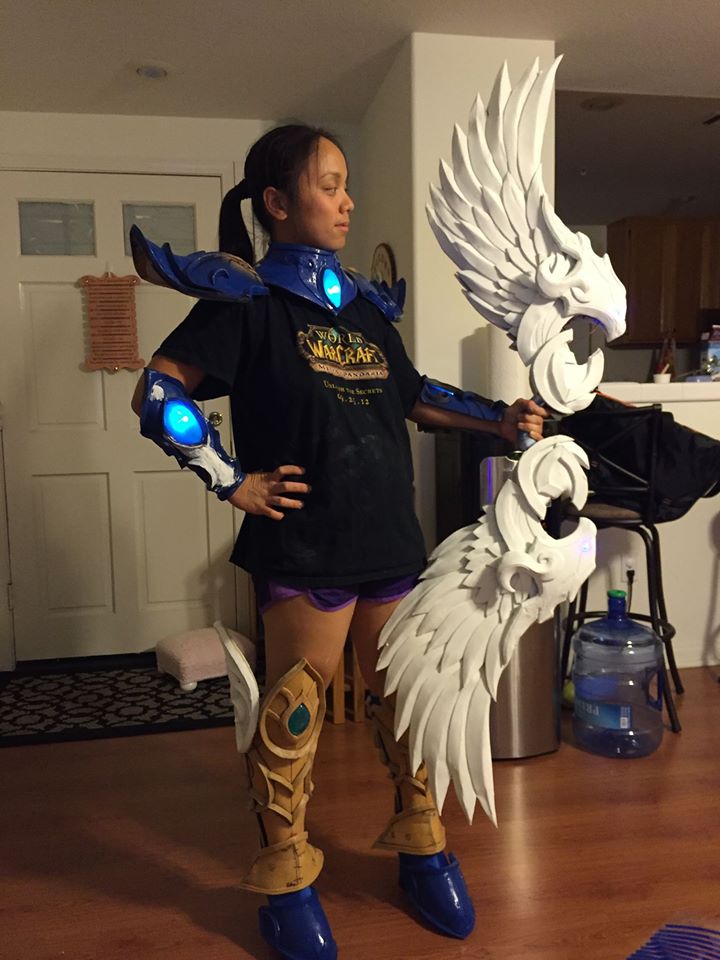
The eyes are made with a 2- blue LEDs series circuit with a switch / battery compartment that holds 2×2032 3V coin cell batteries. The eyes were then carefully hotglued in place to create that “marble” look, which helped both diffuse and hold the LEDs in place. The wires were all hidden inside black socks and shoved inside the eagle heads.

Light tests under flash photography and natural lighting! I used the gems on the right for her armor parts and not her bow.
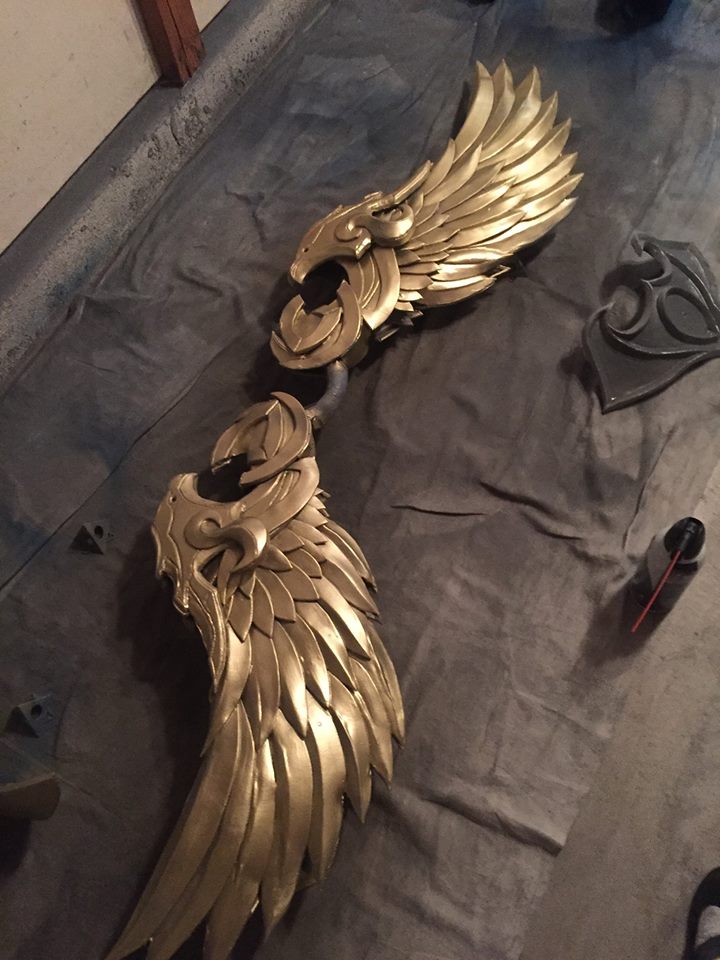
Laid down the first coat of base paint. Spray paint with your standard gold color. No matter what brand, all gold spray paint looks stale and boring.
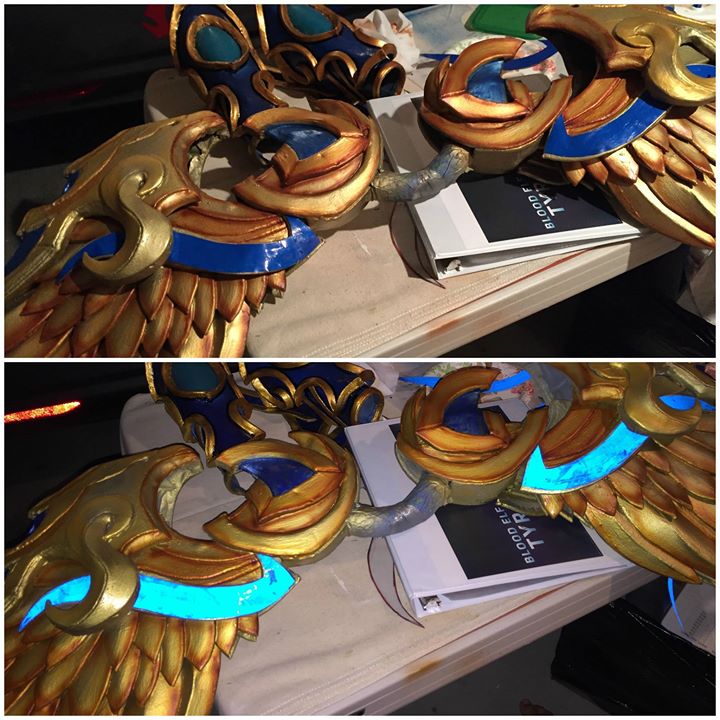
I used reflective blue automotive tape as a cheaper alternative to using EL sheets. You can also see some detail of the paint job that wasn’t completed yet.
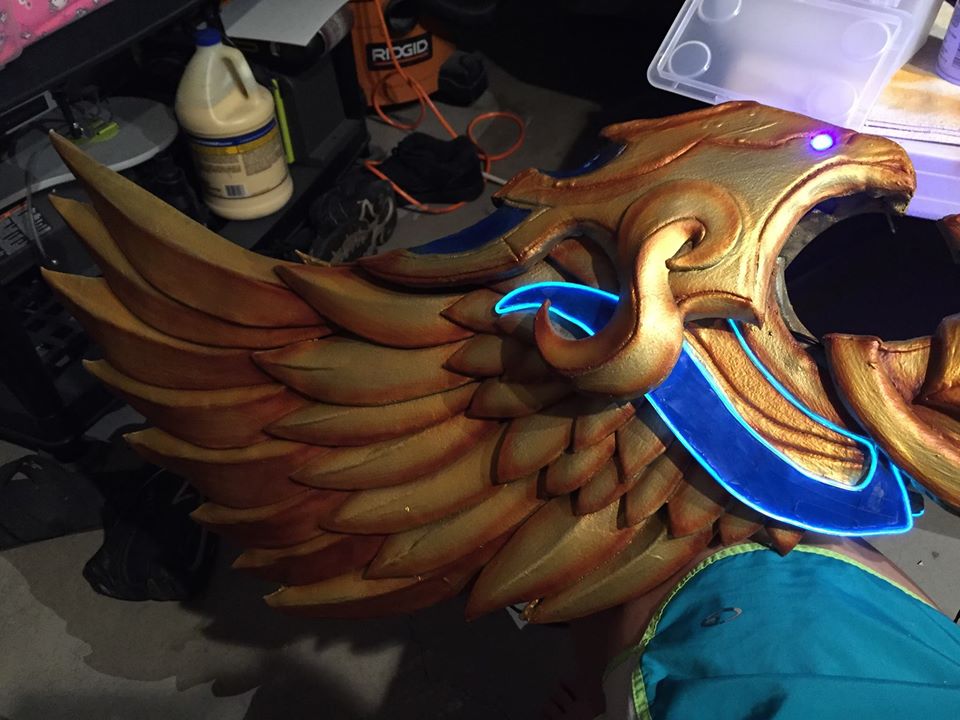
Adding EL wire to the edges of the blue “swoosh”
Tyrande’s bow accents look aqua in her reference picture, so when someone takes a flash picture of me that effect is achieved with the blue reflective tape. Sometimes using reflective tape gives off a better look as opposed to LEDs when people take flash pictures of you. Without flash, the glow of her bow is achieved with EL wire as you can see in the outline on the top. Alternatively you can use aqua EL sheets (which was my original plan) but you will need to spend approx. 4x as much in monetary costs to pay for those EL sheets.
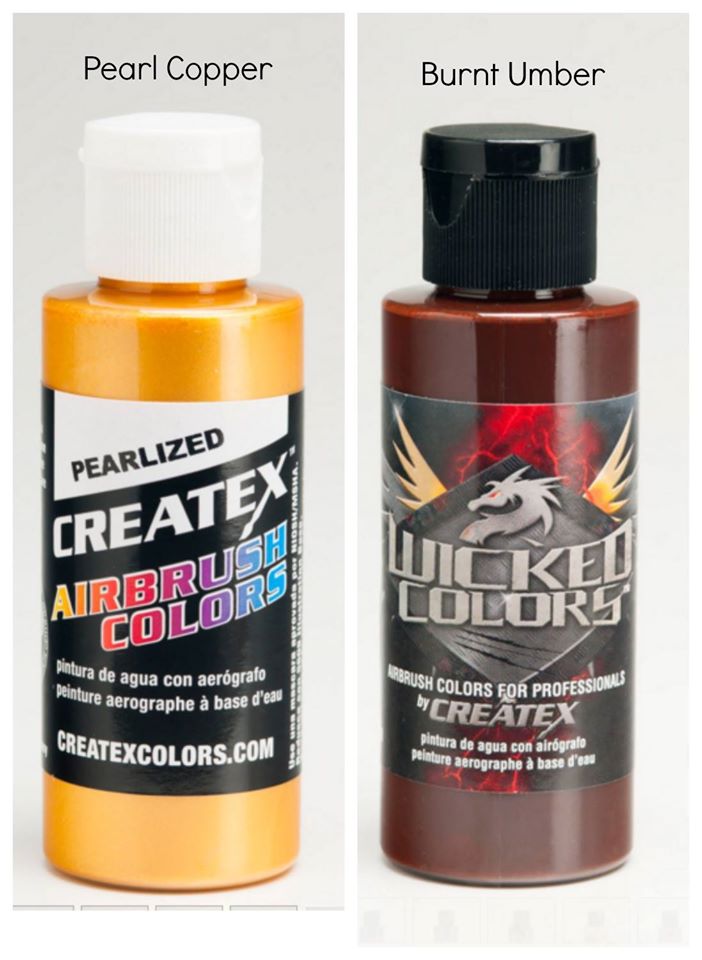
These are the primary airbrush colors I used for the bow paint job and its details.
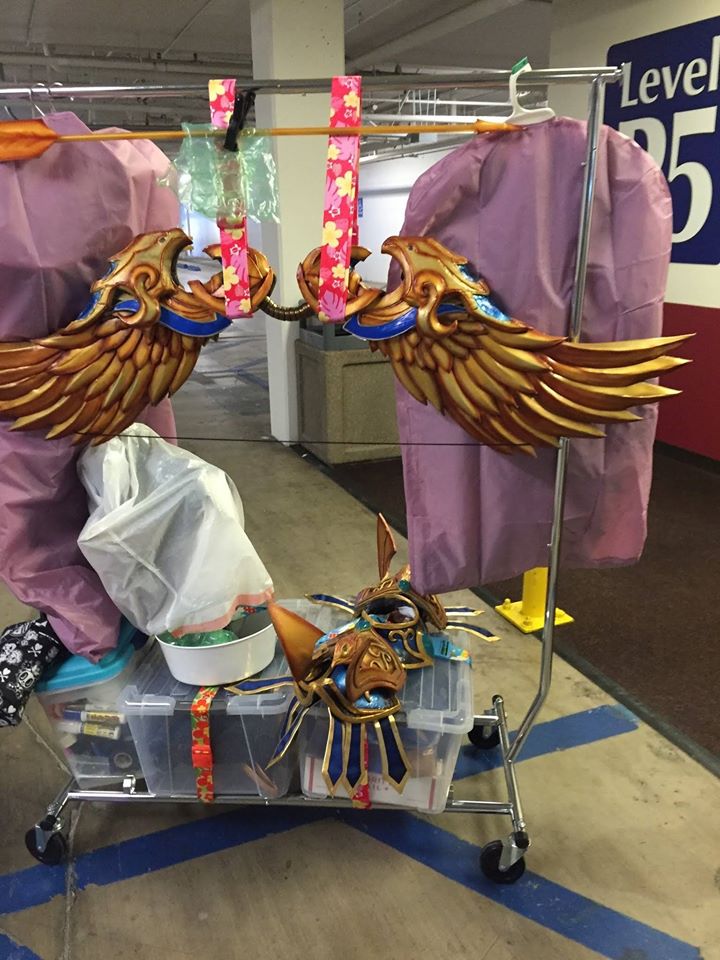
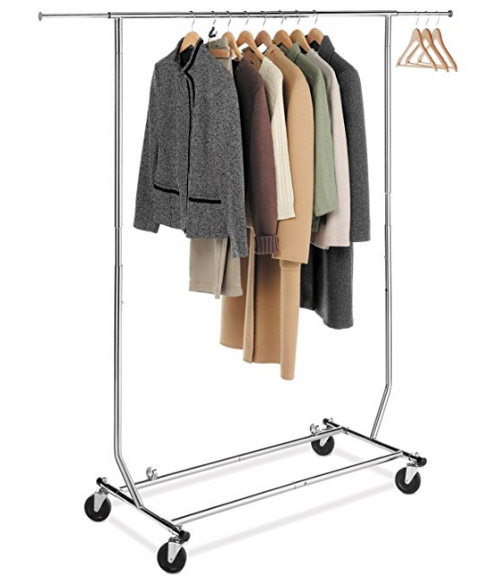
I did a one person trip up to my hotel room at Blizzcon using this movable / portable clothes hanger rack. I live locally to Blizzcon so I did not build this weapon for travel consideration with regards to detaching parts.
I found that this was VERY useful when transporting my costume parts up to the hotel room in one trip! It’s a garment rack from Amazon!
Here’s a video of me testing it in action!
Boom, there you have it!