
In this tutorial, I discuss how I attach removable wings to the body with a harness. Mercy from Overwatch has various skins where both an invisible or regular harness may need to be used to achieve that high “wing angle”. For both versions of these wings, I used the same harness.
You will need:
- 1/8″ (3mm) thick MINIMUM acrylic sheet (clear if an invisible harness is preferred)
- If cutting the harness with a scroll saw:
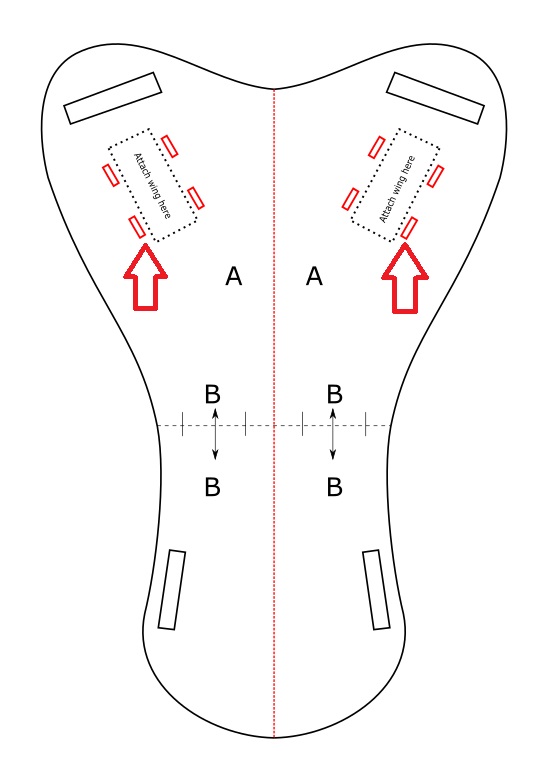
- Template file to trace or cut over the sheet (Download here)
- If cutting with a scroll saw, you will need special blades, No. 7 from this link is what I used
- This is the tutorial I used when cutting acrylic with a scroll saw
- If cutting with a laser cutter:
- Laser Cut files (Download here)
Once the harness is cut out, you will need:
- 4x Cable/Zip Ties – Heavy Duty (Width needs to be <12mm or 1/2″) – This is the one I used
- 2x PVC Pipe couplings, use the size that fits the PVC pipes that were used in your wing inner core. This should be either 3/4 or 1/2 inches.
- Epoxy 2-part glue – This is the one I used
- Rubber Bands
- Scrap Worbla
- Scrap Foam (6mm thick recommended)
- Contact cement adhesive
- Dress form to heat shape the harness
- Heat gun
- 1″ of woven elastic (This is what I used for the invisible harness)
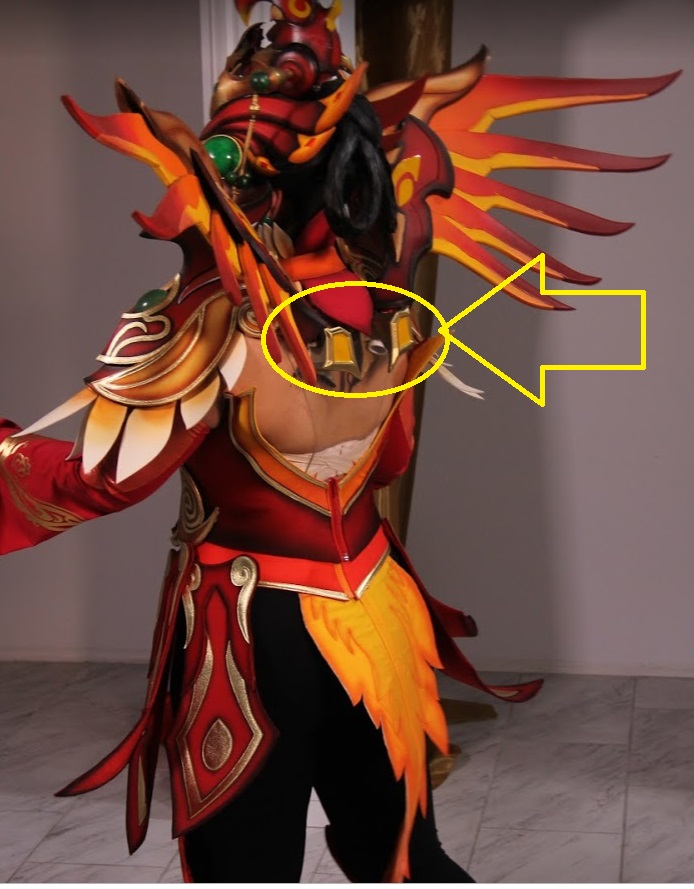
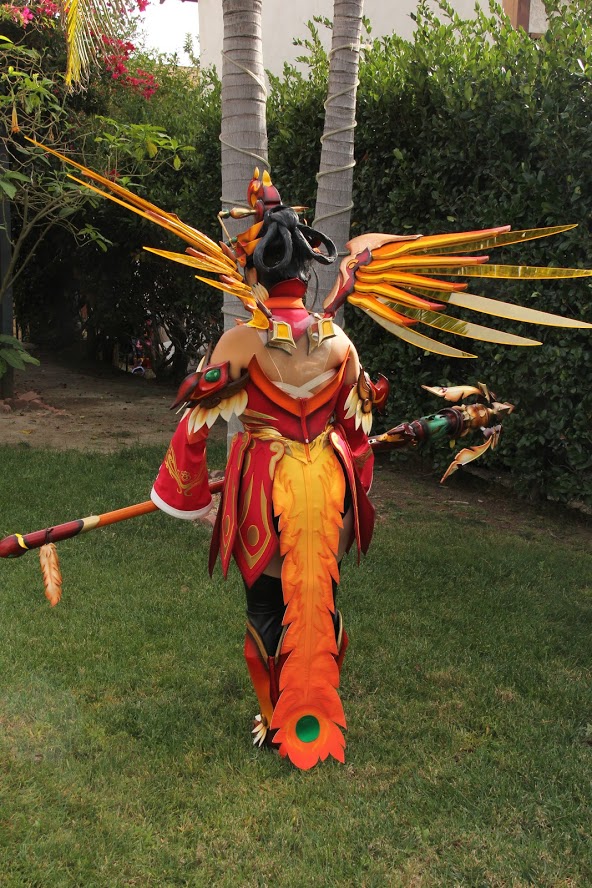
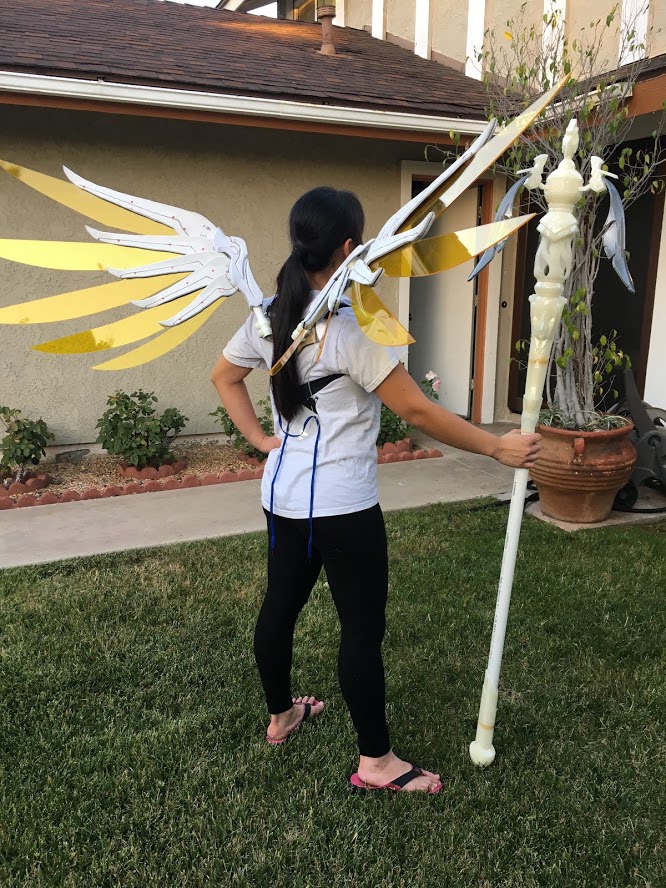
This method works well with supporting heavier wings by means of creating a little “backpack.” The only major disadvantage of this method: Straps will show across your arms if you have a bare neck/shoulder area. I chose this method of attaching to my body as opposed to using the PVC pipe method tucked in behind my bodice since I wanted to achieve higher angled wings that would not droop under the heavy added weight of the acrylic wing extensions.
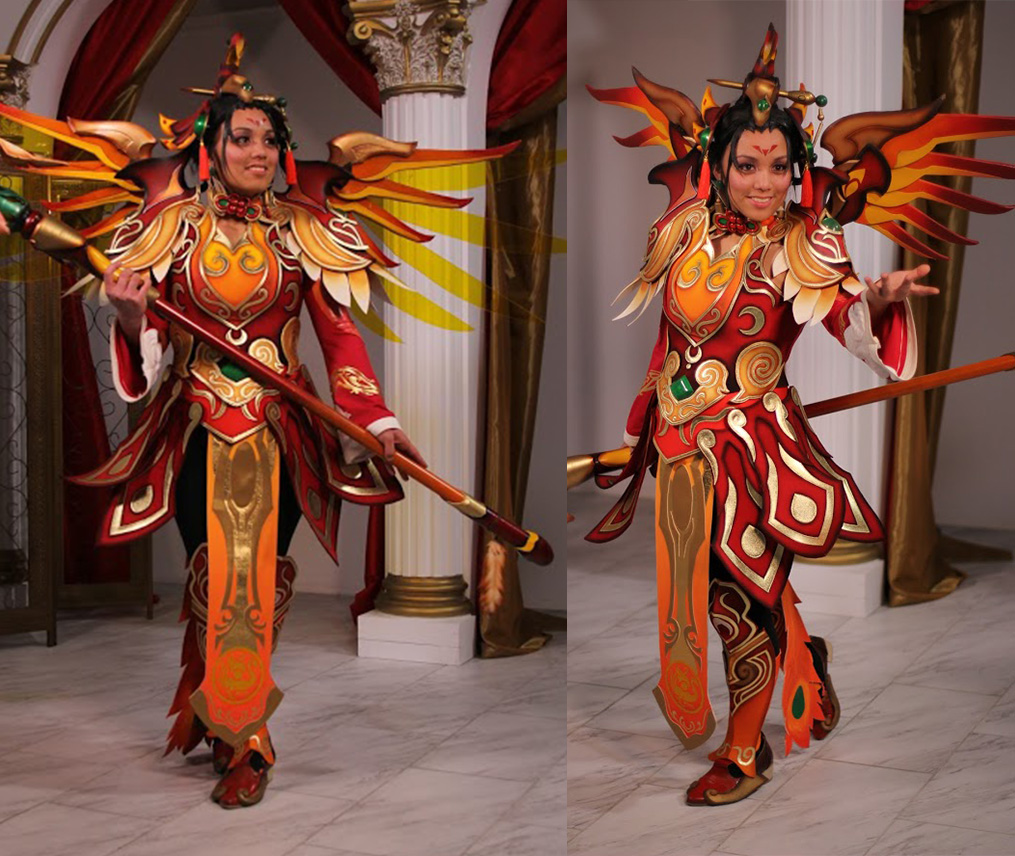
Photo by Greg de Stefano Photography
The completed harness and view from the back look like this:

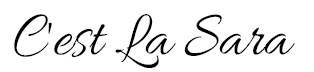
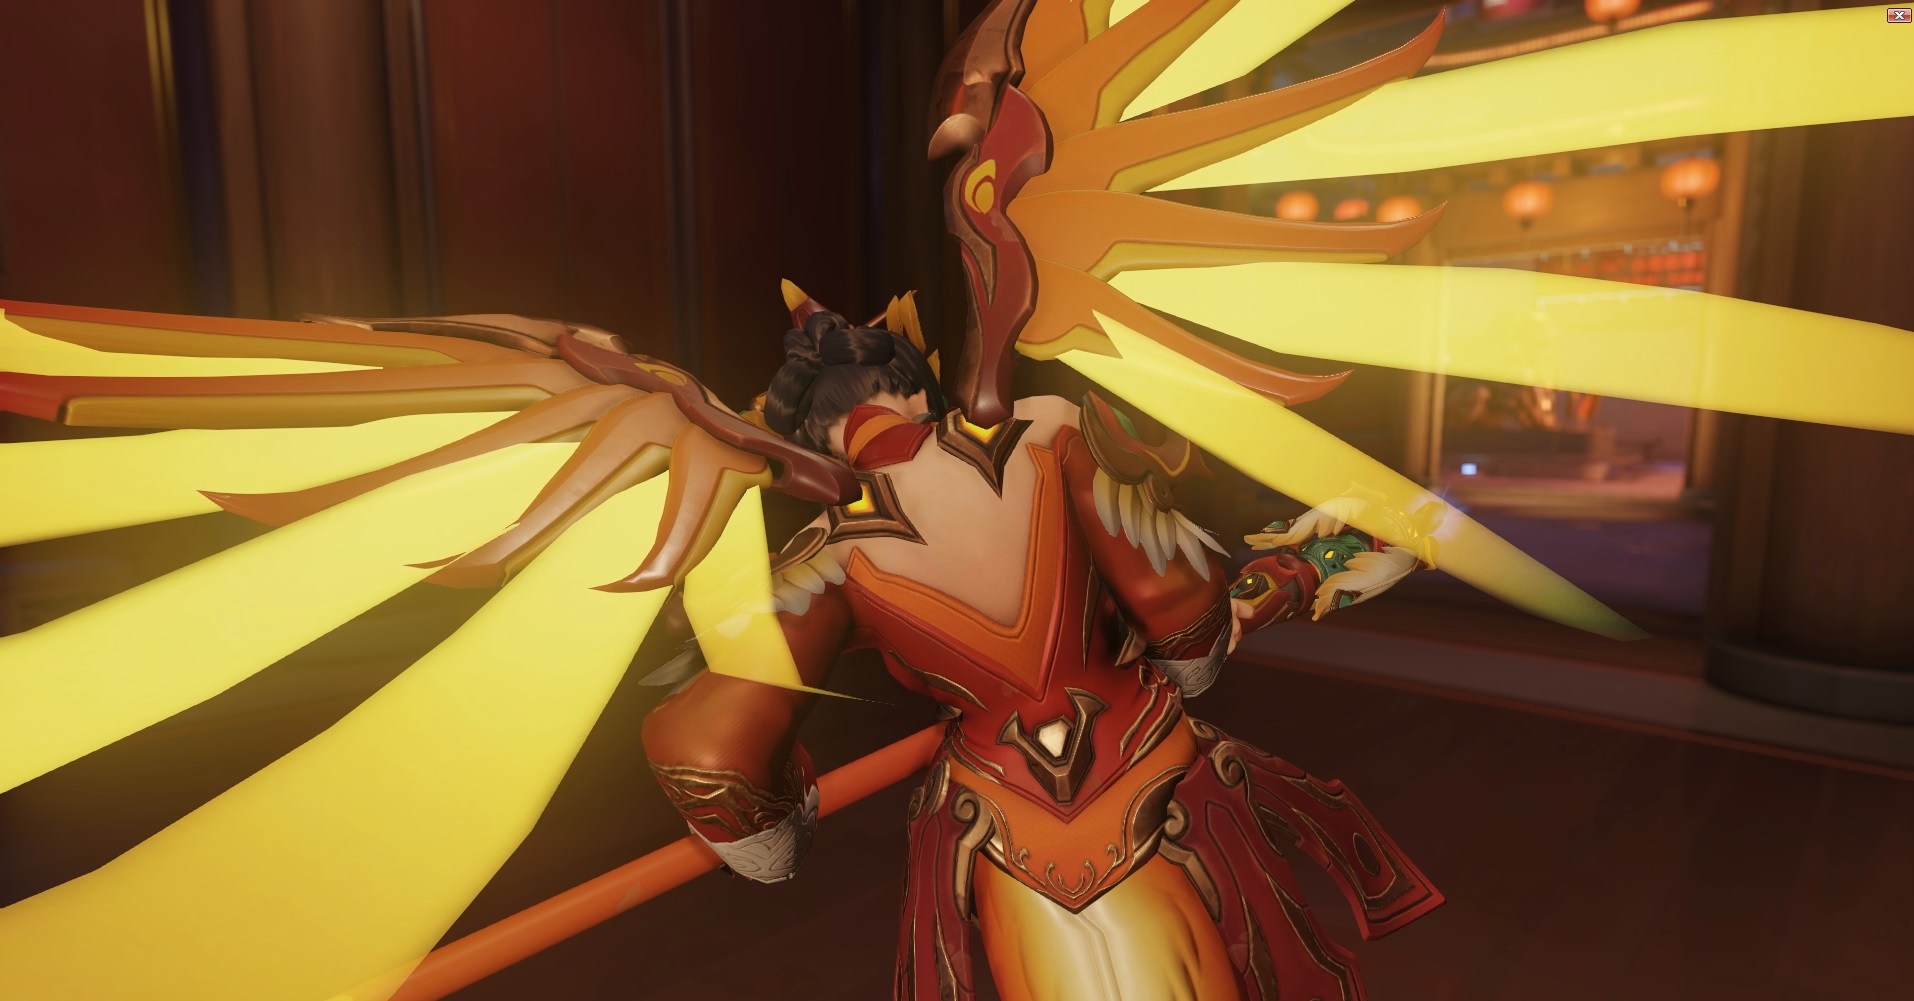
The reference pic includes no harness:
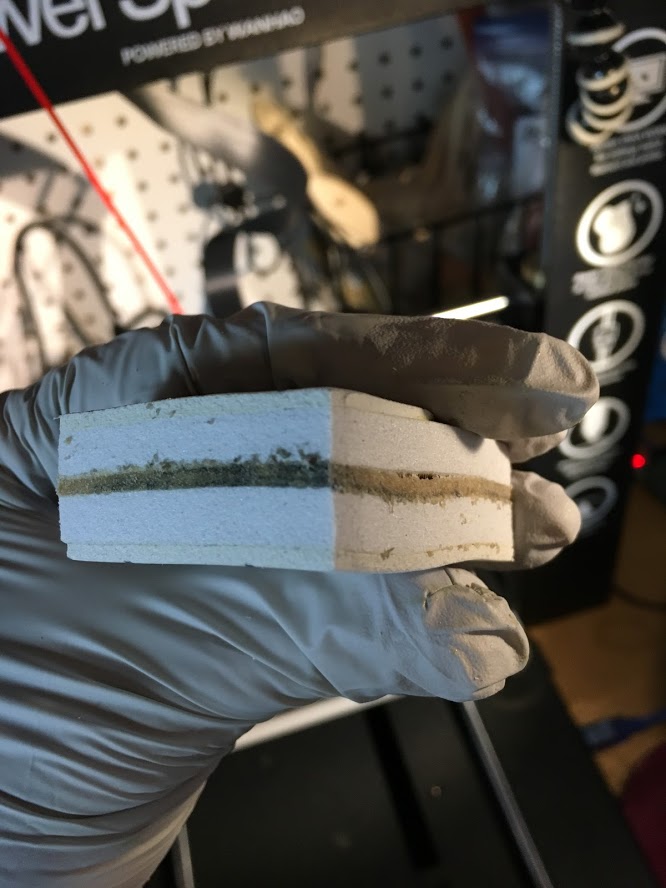
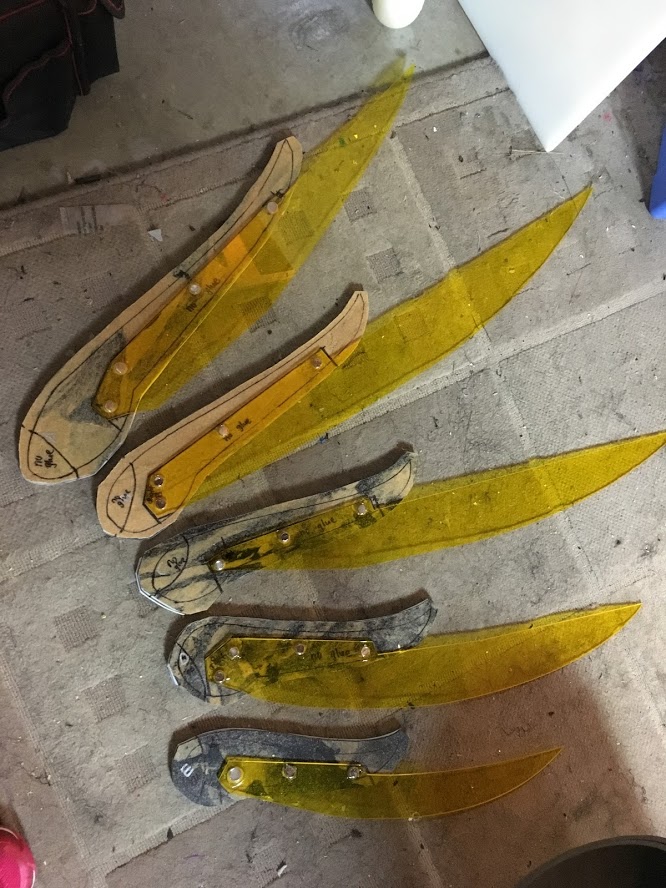
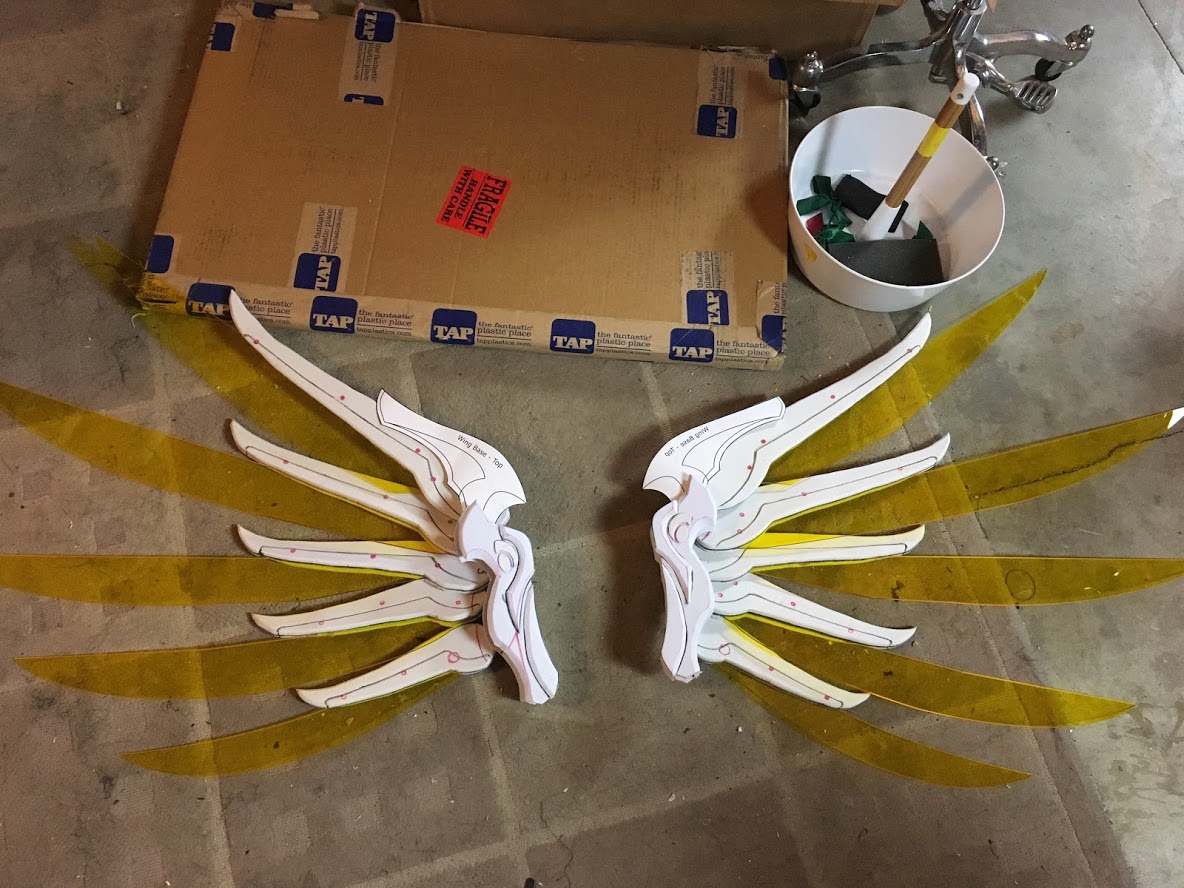
The construction of my first version of Zhuque Mercy wings included a worbla inner core (2mm thick) to support the wing feathers from bending over when I added the yellow acrylic wing extensions. The outside of the wings were created with high density EVA foam all layered together with contact cement and cut with a scroll saw.
See the video for more wing construction details here:
Making Of: Zhuque Mercy Cosplay – Overwatch
This particular tutorial focuses on the detail of how I created the harness.
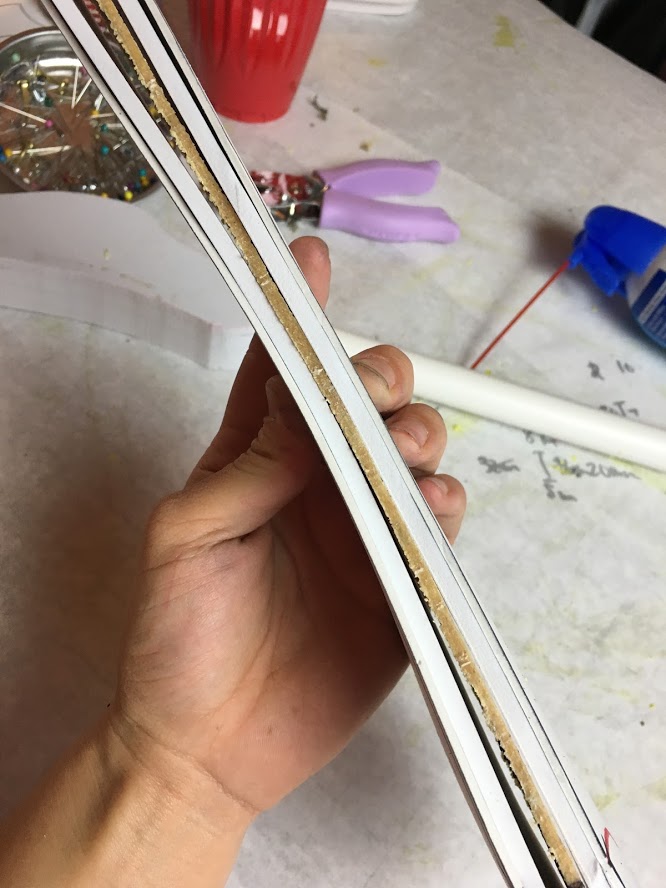
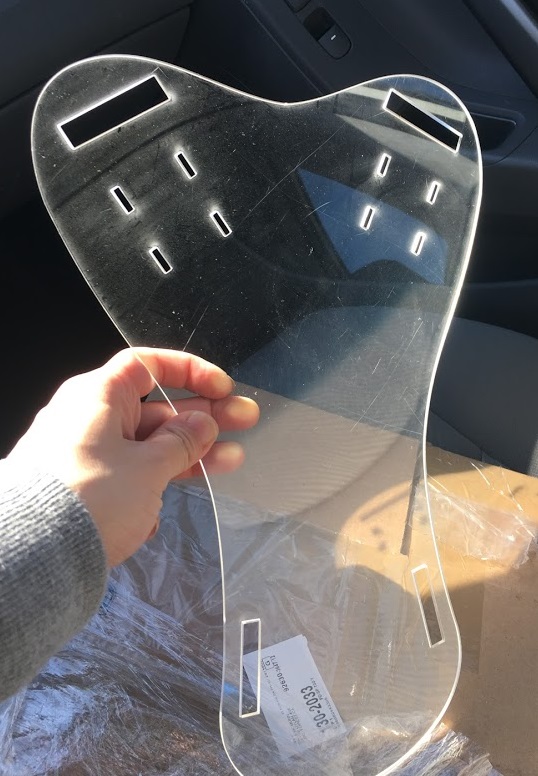
The finished cut piece should look like this (this version was laser cut).
These pictures below were from my first version of the Mercy harness I cut with a scroll saw, but the same will work for a laser cut version.
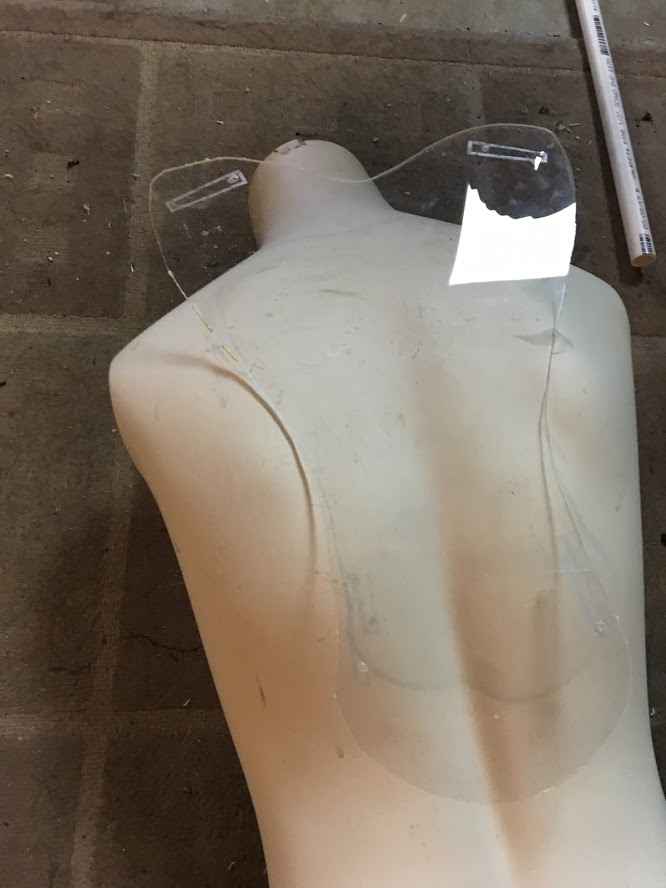
Place the cut acrylic harness over the dress form, and use a heat gun to shape this piece. It is NOT recommended to heat this directly on someone’s back as the heat from the heatgun will be VERY hot.
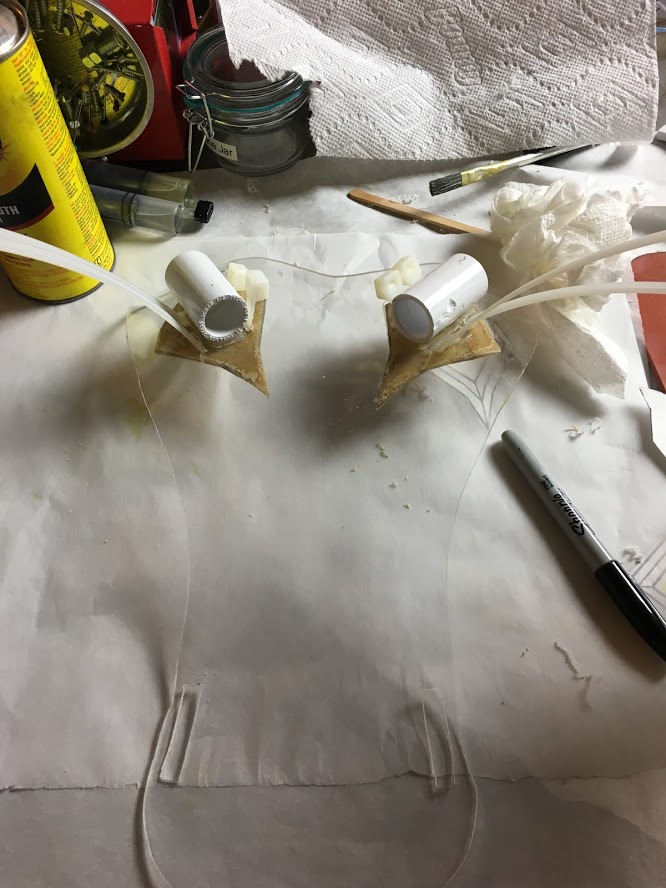
Mix the 2-part epoxy per the packaging instructions, and glue the PVC couplings to the harness. For best practice, it would be best to sand this area prior to gluing.

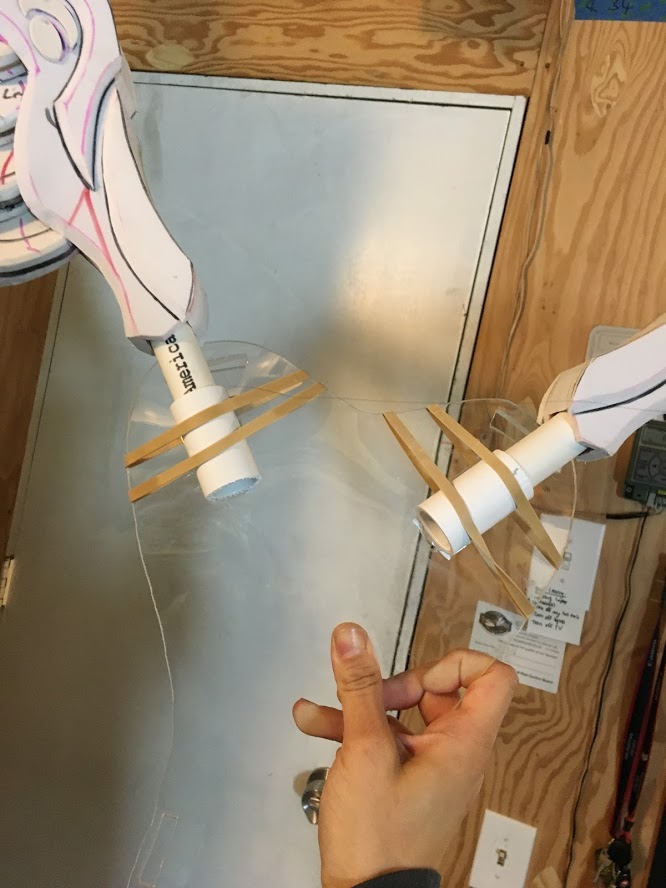
Use rubber bands to support the couplings as the epoxy cures. In this picture, the epoxy already cured and I tested its strength with the actual wings.
Next, cut the harness to make space for the cable zip ties if there aren’t holes in this area. The laser cut file already has this, so this should already be cut when using a laser-cut harness.
Next, apply some contact cement under the harness. Heat some worbla and apply contact cement to the worbla as well. Stick the worbla to the contact cement surface on the harness. Once this area dries, cut through the worbla using a drill or soldering iron using the acrylic holes as a guide. Slip the cable zip ties through the holes.
Cut high density foam (6mm recommended) in a similar shape as the worbla and use contact cement between the worbla and the foam to soften this area so it will not scratch the wearer’s back.
Secure the cable zip ties over the PVC pipe couplings, and cut the excess off. Apply epoxy glue over this area as pictured below for added strength.
Add the elastic straps over the outer holes to create the “backpack”. It is recommended to create a cross across the harness for added strength.

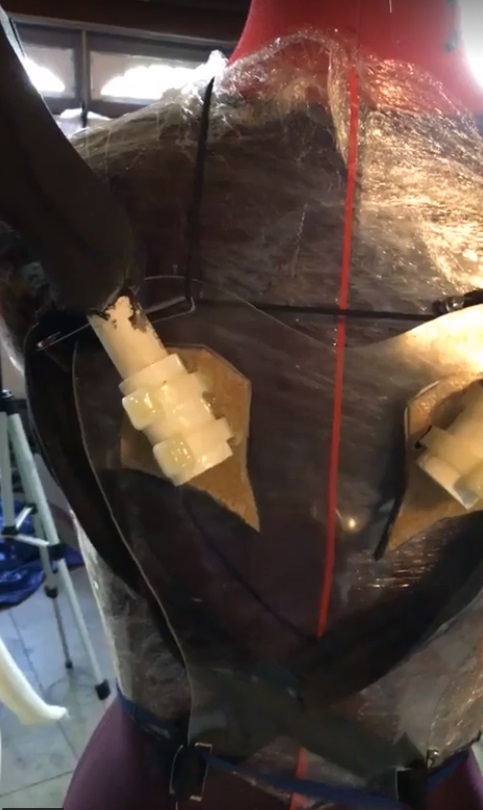
The harness should look like this with wings attached when completed.
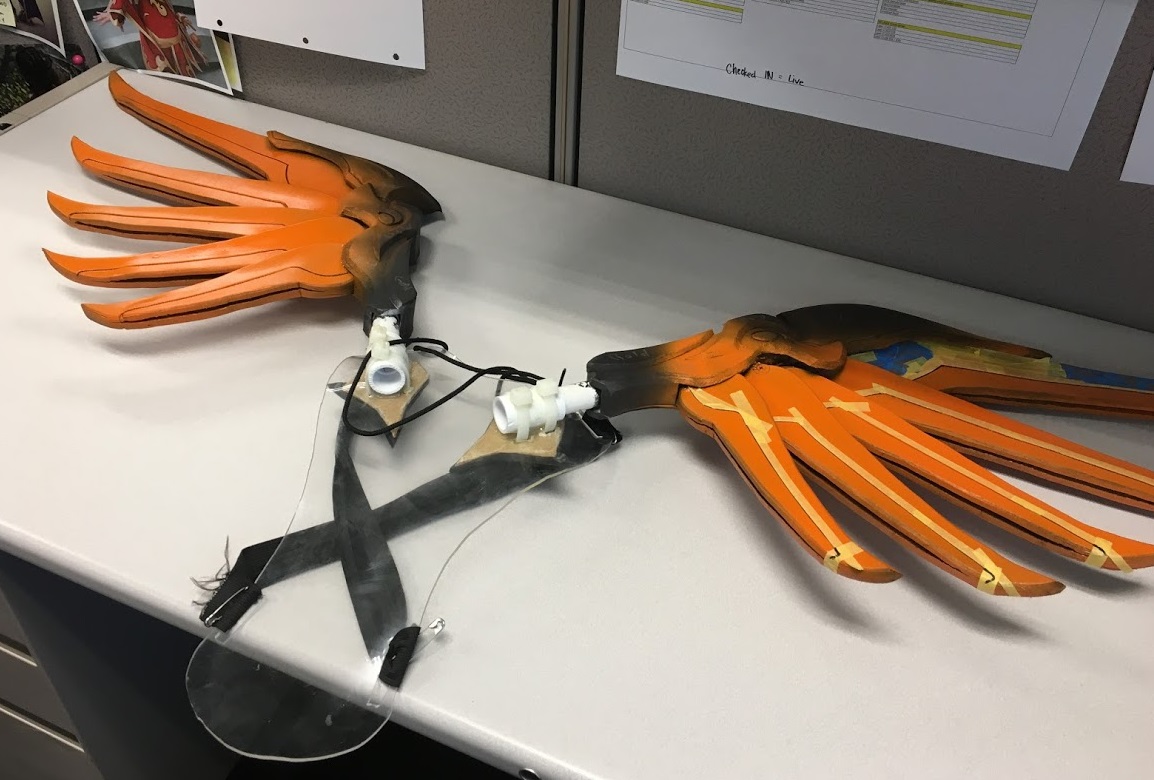
Optional: I 3d modeled and printed covers for the pvc pipe couplings.