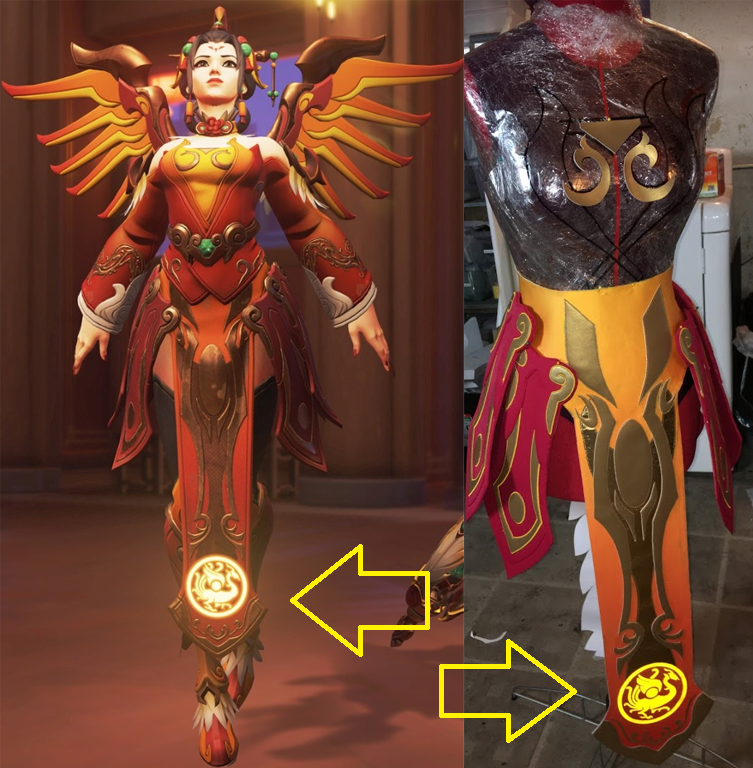
Heat Transfer Vinyl serves as a great solution for creating crisp appliqué details on any project! In this tutorial, I use examples from my Zhuque Mercy project.
See my other appliqué tutorials here:
Navigation:
- Prepare the vinyl piece (Steps 1 – 6)
- Using a cutting machine (Steps 7 – 13)
- Ironing the vinyl to fabric (Steps 14 – 21)
Materials used:
These are affiliate links, which help directly support my work and allow me to create better tutorial content!
Important notes!
Please test this out using scraps of fabric and smaller vinyl sheets PRIOR to setting this applique technique on your real fabric!
If you are not using a Brother ScanNCut machine, the concept with regards to handling heat transfer vinyl should be similar on other cutting devices.
Any numbers on the cutting machine and iron heat settings only serve as suggestions, which come from my working setup! Please test before executing your project! I am not responsible for any damages caused.
Preparing the vinyl piece
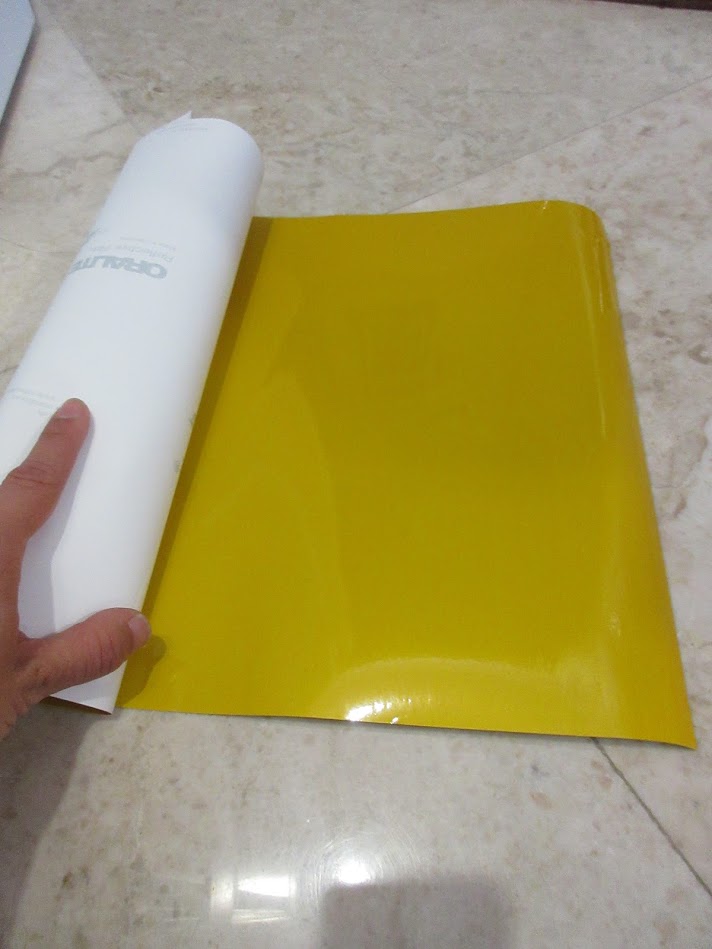
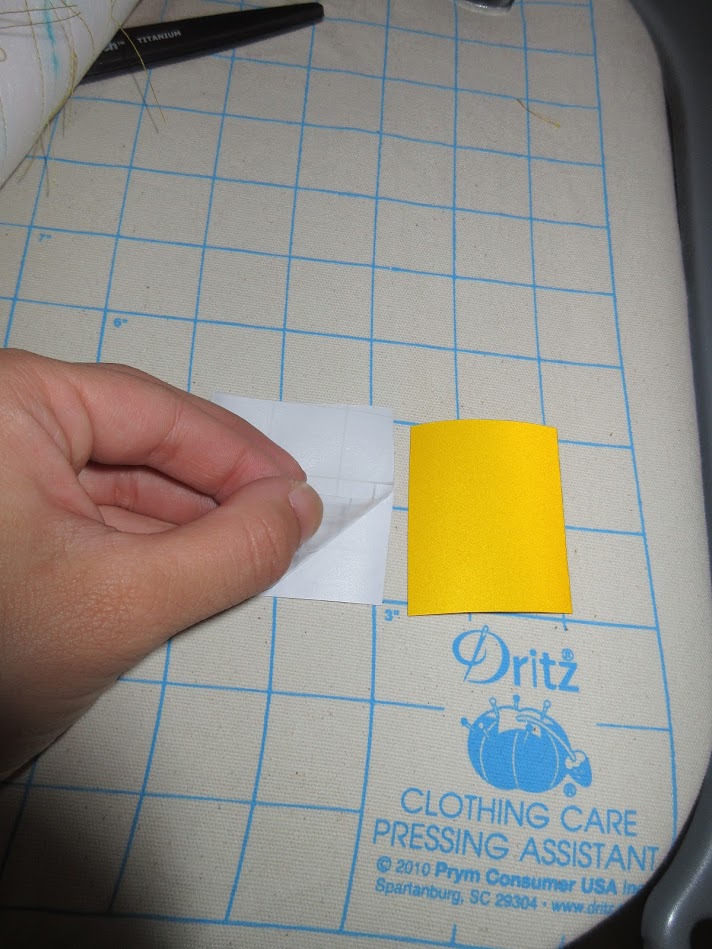
1. Separate the transfer (clear sheet) from the regular sheet.
2. Flatten out the vinyl by rolling it the opposite direction.
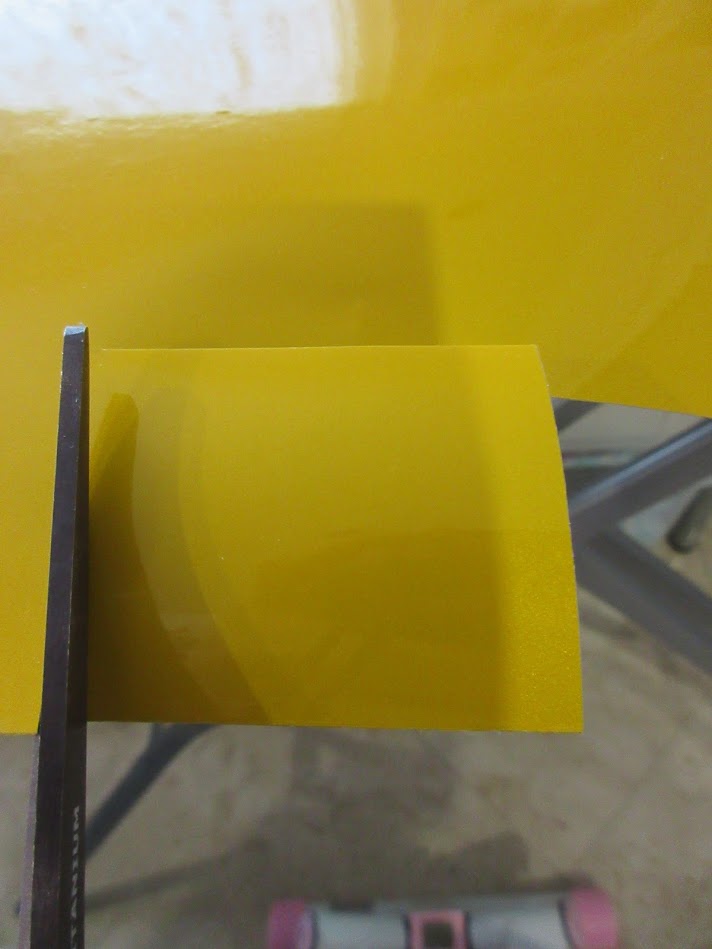
3. Cut out the size of the vinyl that you will be applying. DO NOT cut exact to your drawing — the machine will do that for you.
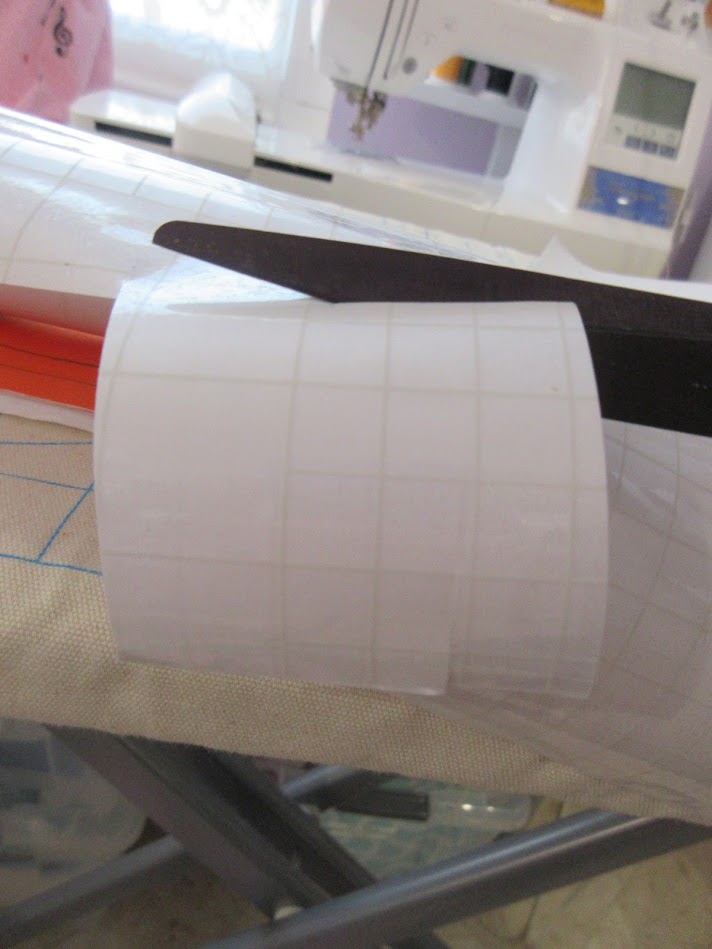
4. Cut out the corresponding transfer sheet to size — slightly larger than the cut vinyl piece.
5. Peel off the paper backing from the transfer sheet. Save this paper backing for step #17.
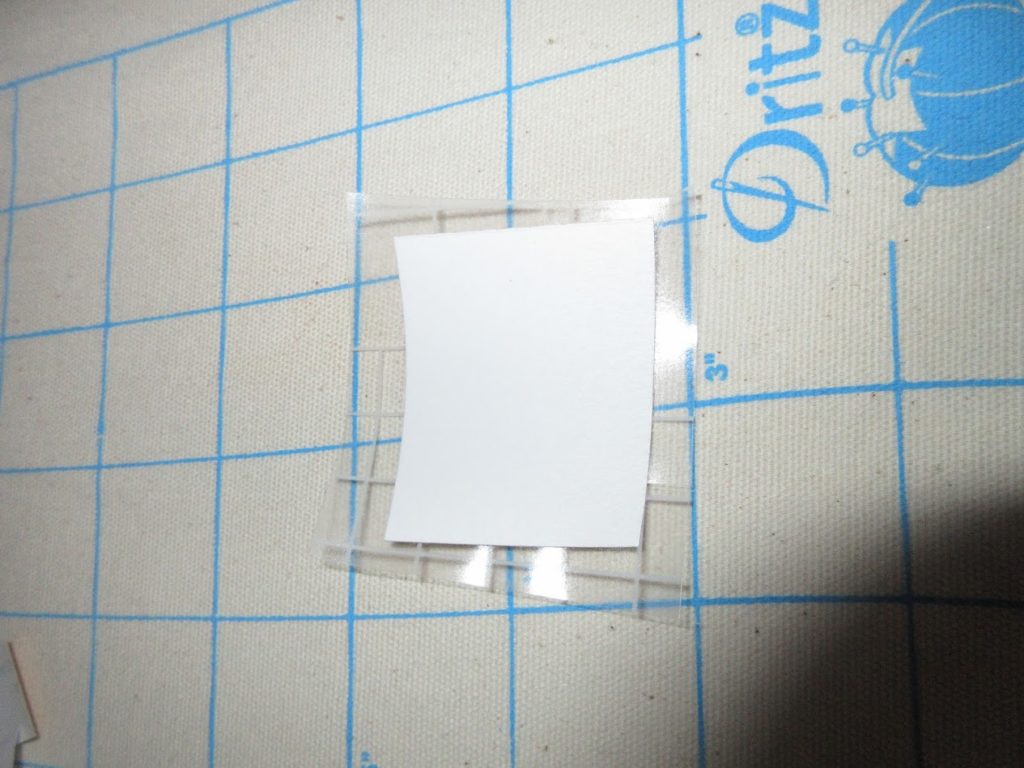
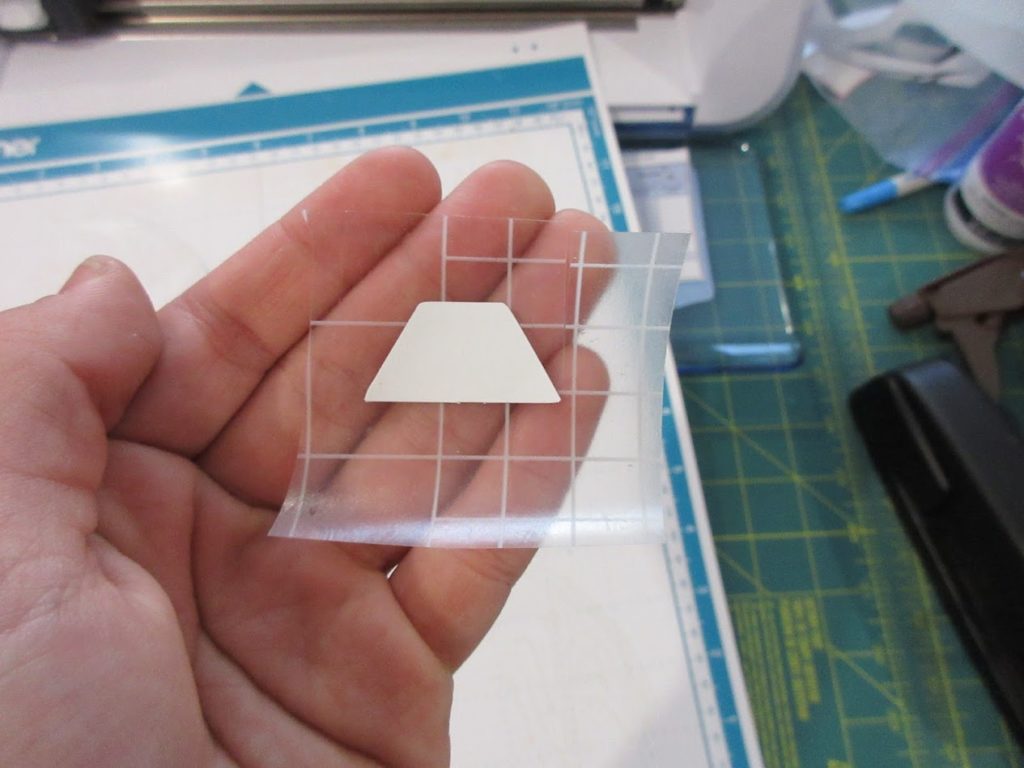
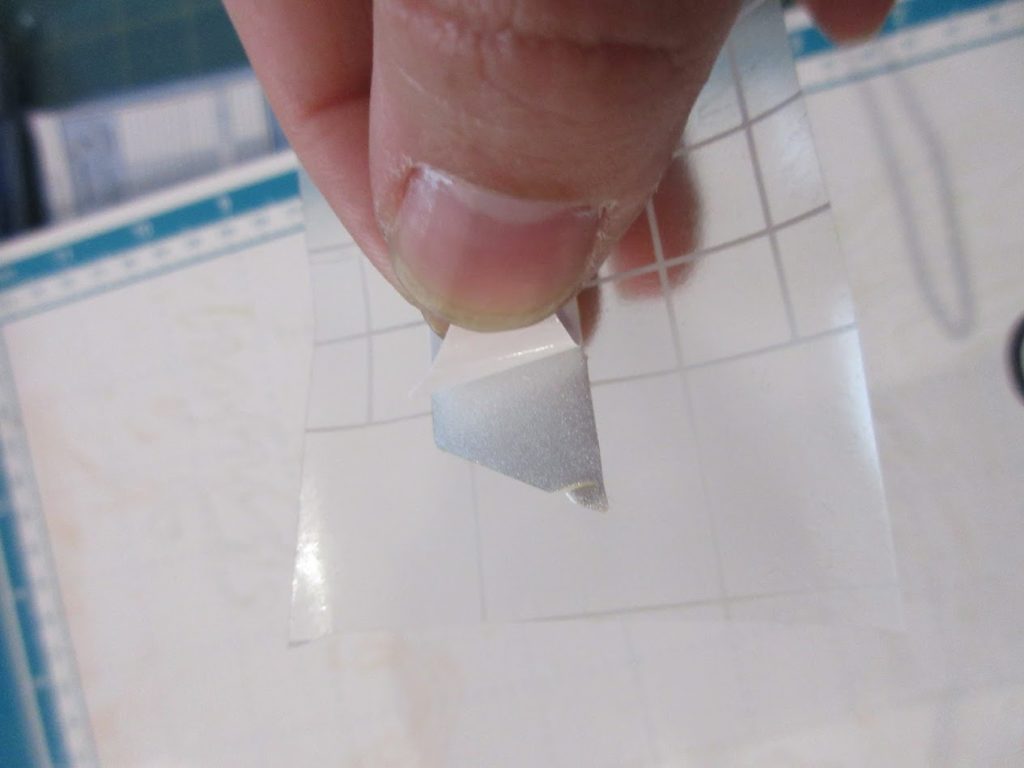
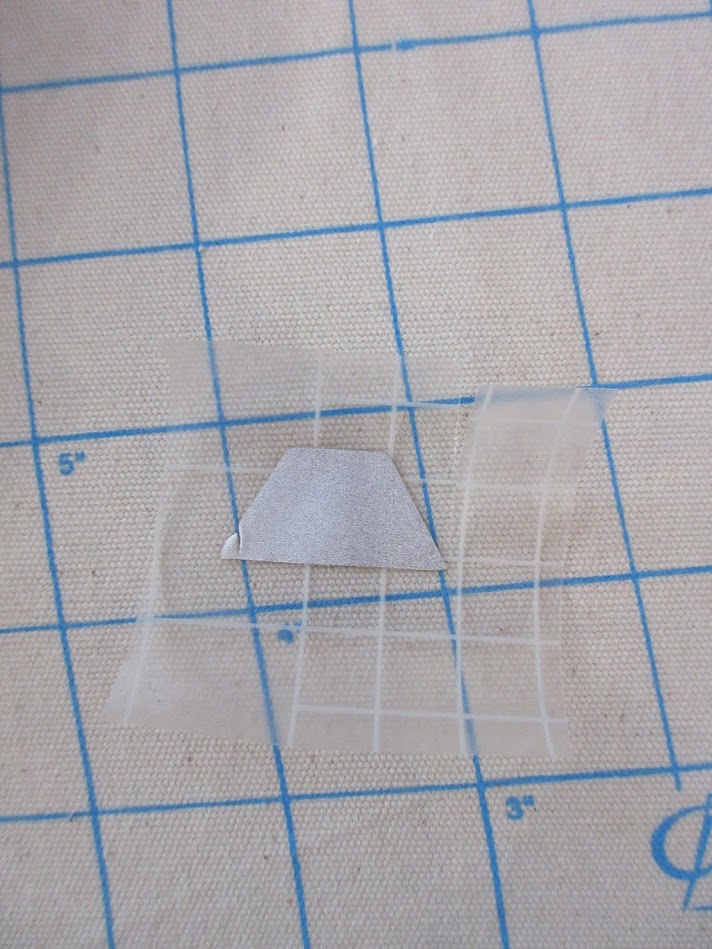
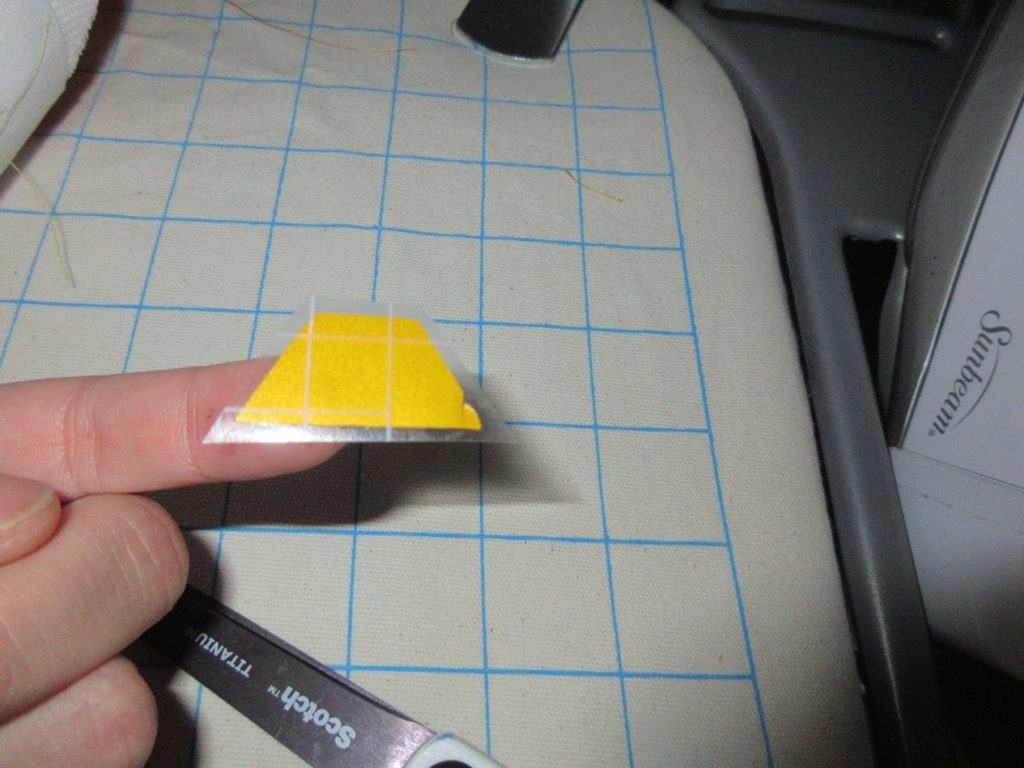
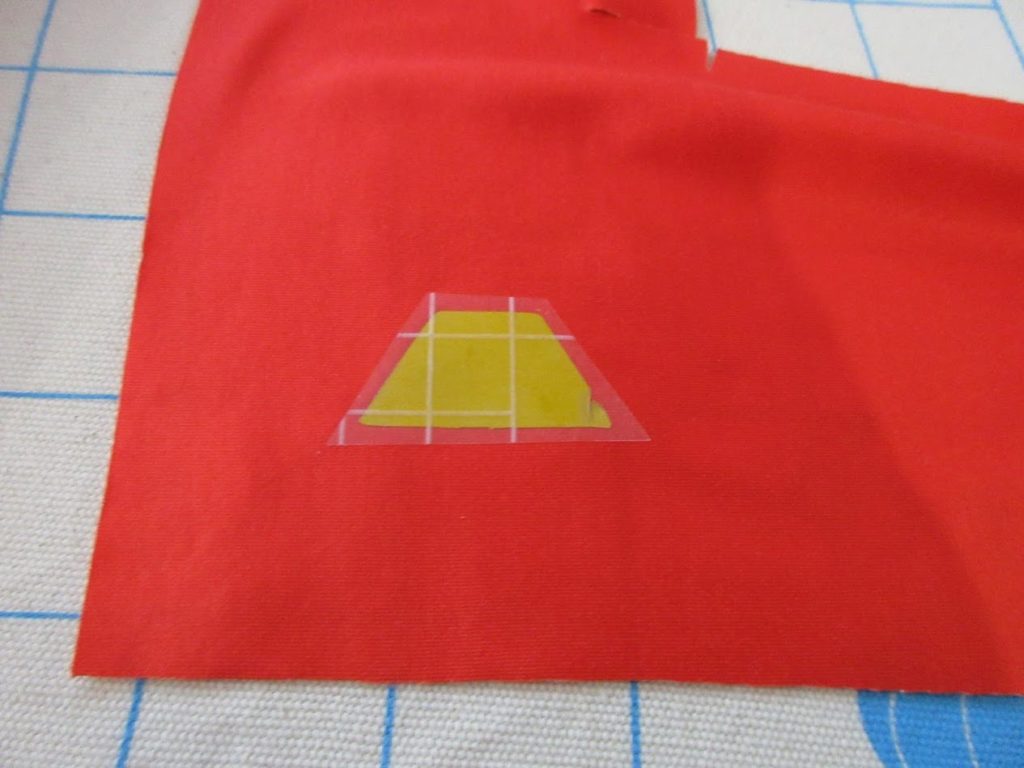
6. With the sticky side facing up and exposed from the transfer sheet, flip over the vinyl that will be shown, and stick it to the transfer sheet. Ensure that the paper backing of the vinyl is facing upwards as in the picture below.
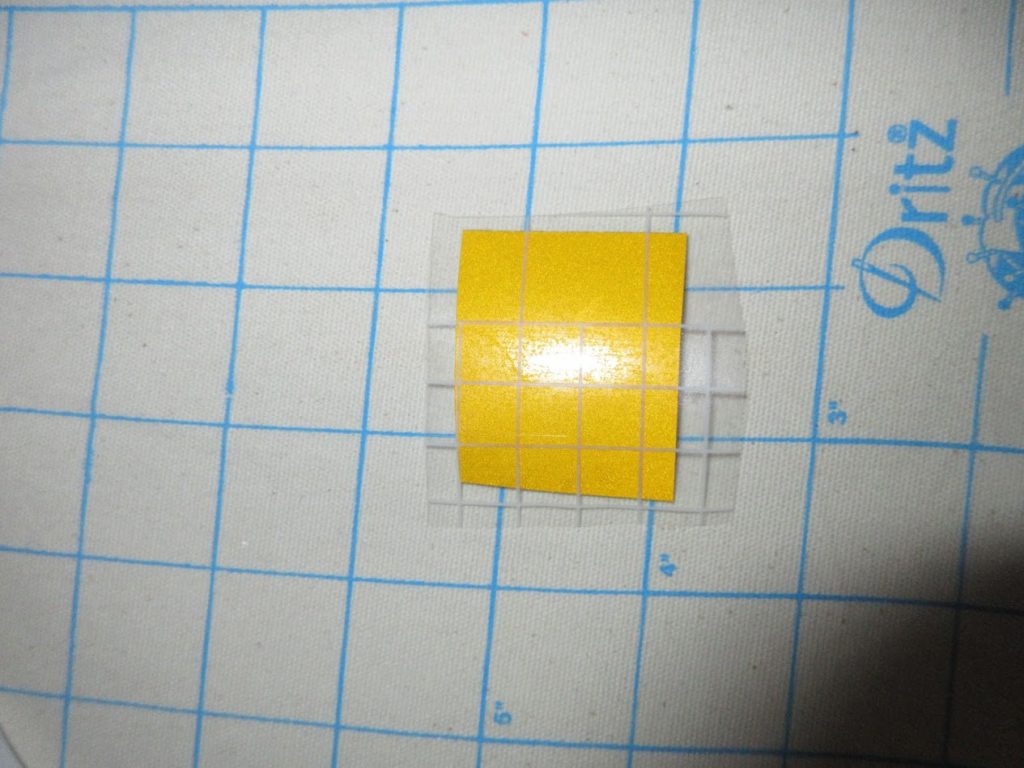
The other side looks like this.
Using a cutting machine
In these next steps, I used a Brother ScanNCut2. These steps are specific to the machine make and model, but a similar concept can apply to other cutting machine brands.
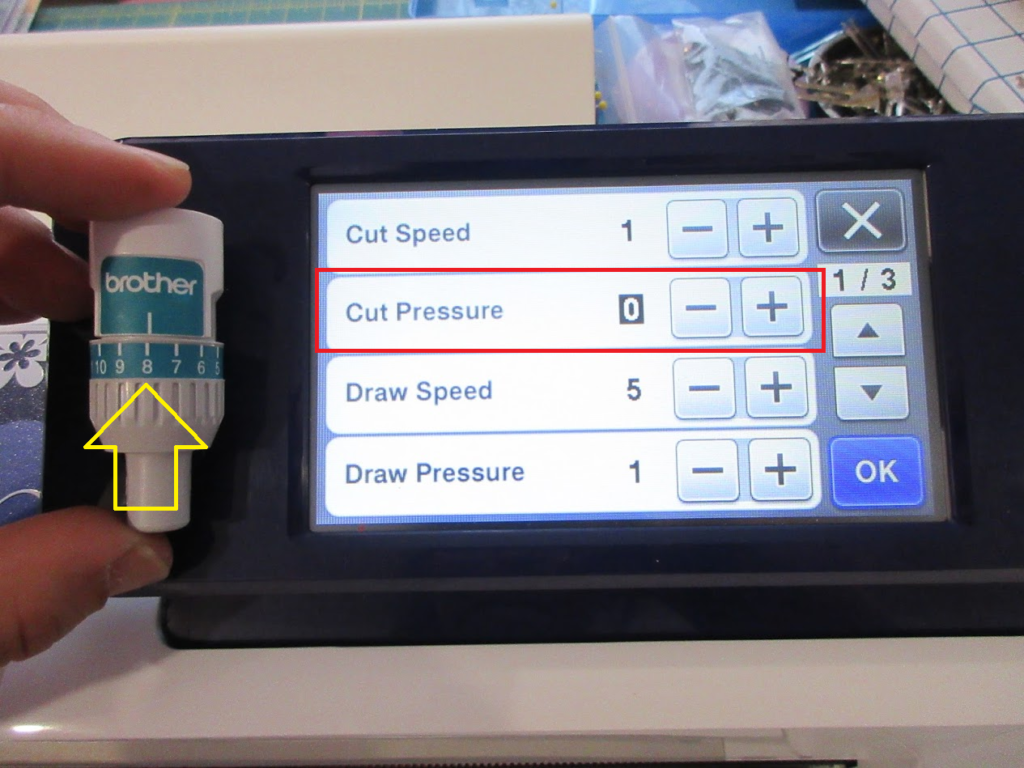
7. Enter the settings menu on the machine.
Use a STANDARD (teal) blade, and other values my remain at defaults.
Note: These numerical values may vary across machines (even if they are the same model as mine). I recommend performing tests to see what number combination between these two work. When cutting, the machine should not cut through the transfer sheet and the cutting mat. See step 13 for a visual result using these values.
- Blade setting = 8-9
- Pressure = 0
- Mat = Standard (teal color)
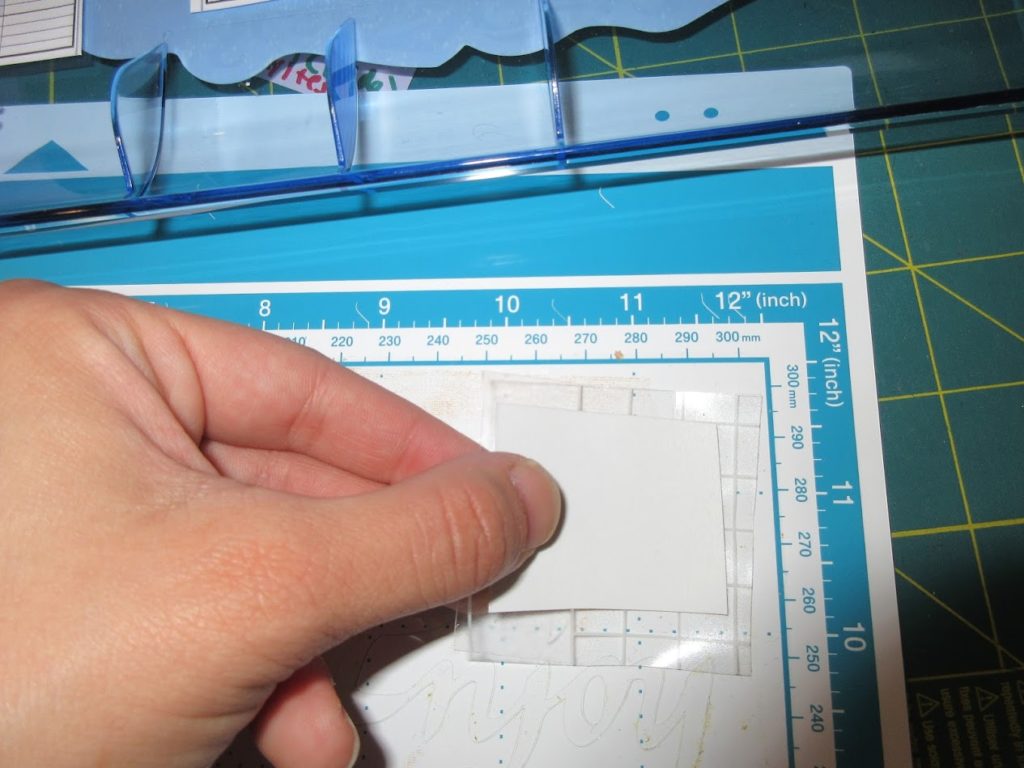
8. Place the vinyl / transfer sheet piece on to a corner of the mat. Anywhere on the mat is OK, but this is most convenient when running a cutting test.
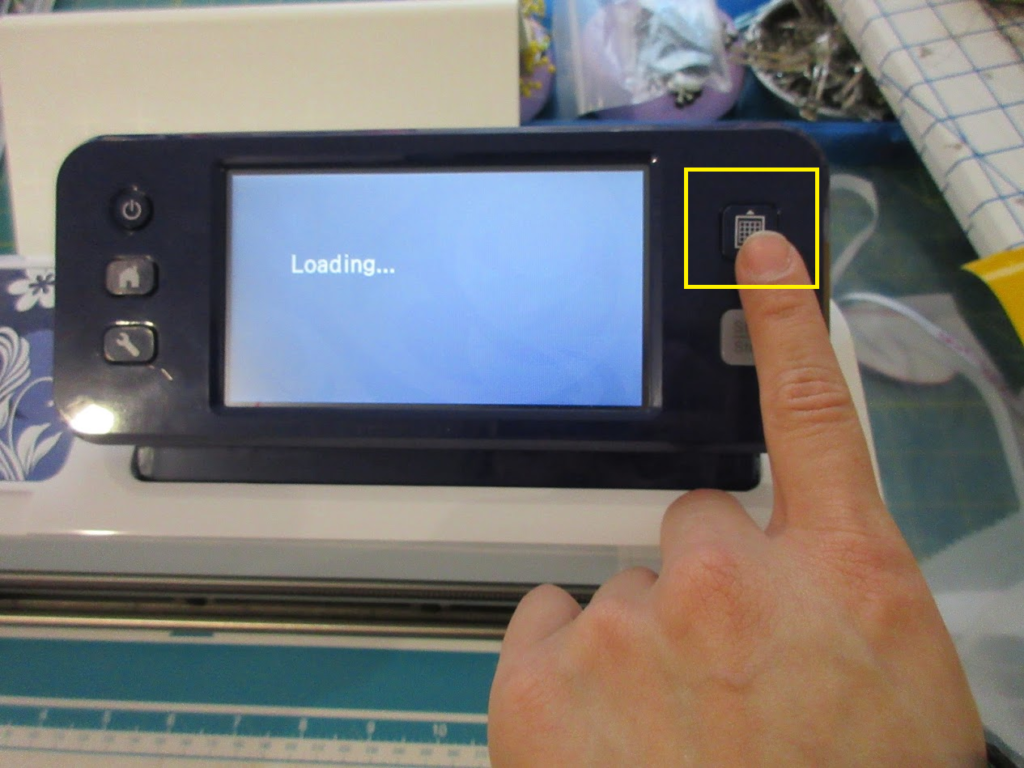
9. Load the mat into the machine.
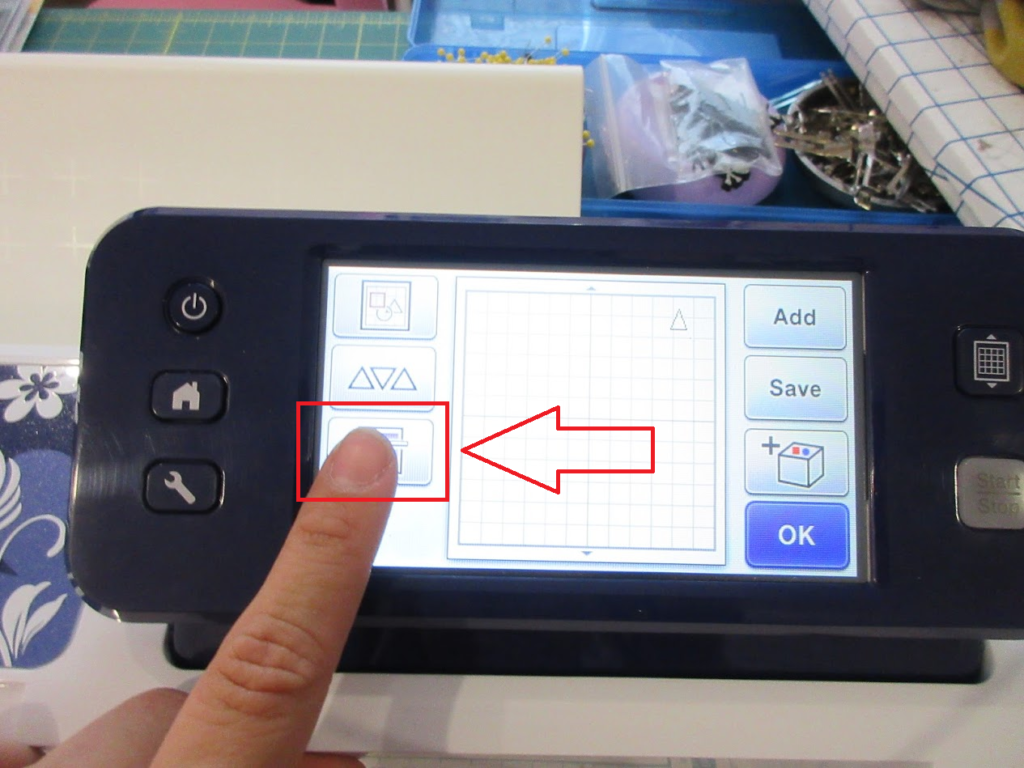
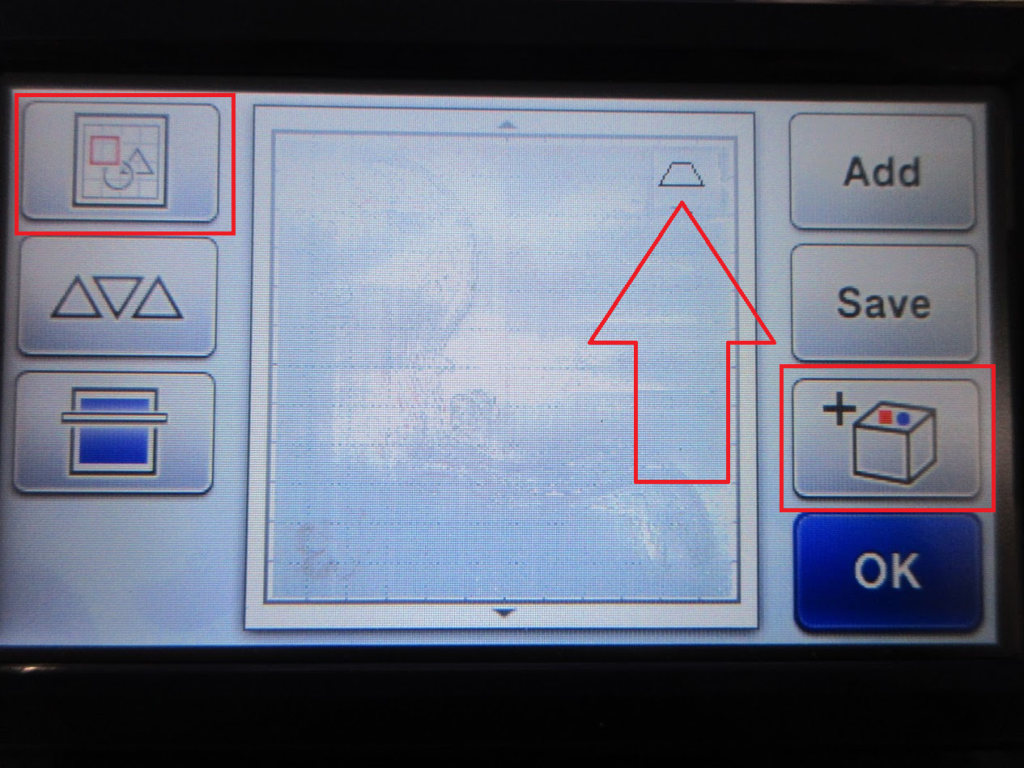
11. The scanned image will now display on the screen, or in ScanNCut Canvas – if selected (Web based application for editing the cut files for the device).
Use these shape and editing icons to add a single basic shape, and then modify the shape to a small size. If you have a design template printed out on paper, watch this video for specific instructions on how to transfer a line drawing for cutting.
Drag the design over the area where the vinyl was placed on the mat.
For further details on how to operate the ScanNCut machine and its features, please refer to the manual of the particular model you have.
When using a non-symmetrical design, mirror reverse the design onto the display. The design should display “backwards” on this screen.
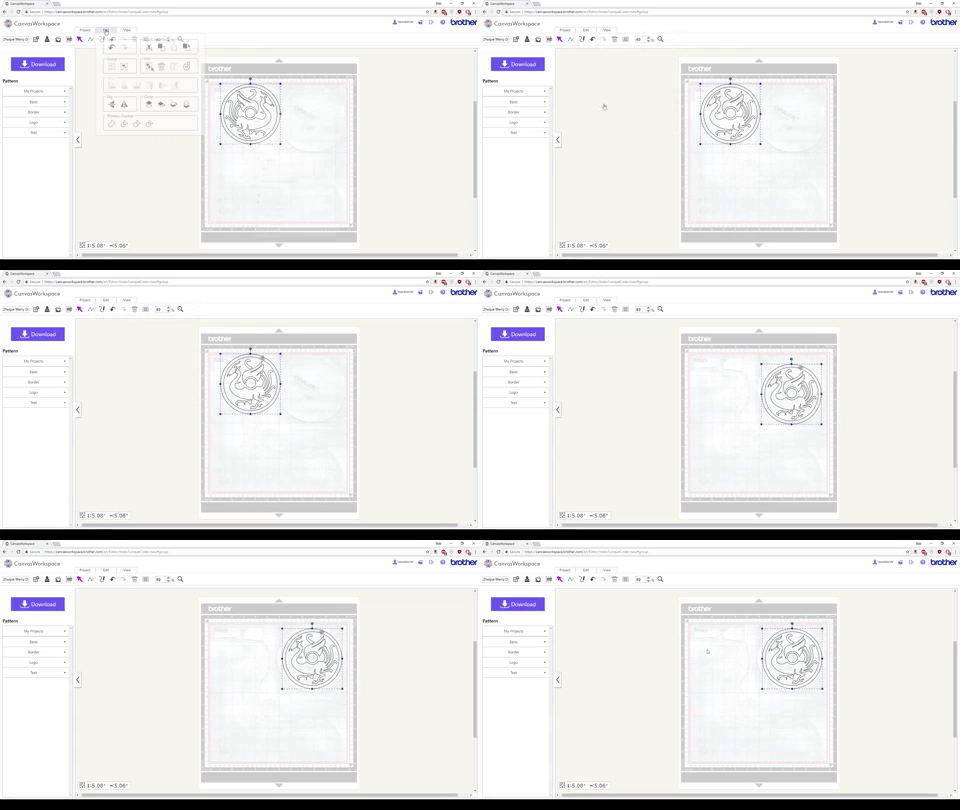
This is how it would look like when modifying in the ScanNCut Canvas instead of on the screen. When using ScanNCut Canvas, you import an SVG or use this interface to trace a drawing or paper template printout that was scanned on the machine. You can save and transfer your design to your cutting machine. Specific instructions on how to use ScanNCut Canvas can be found here.
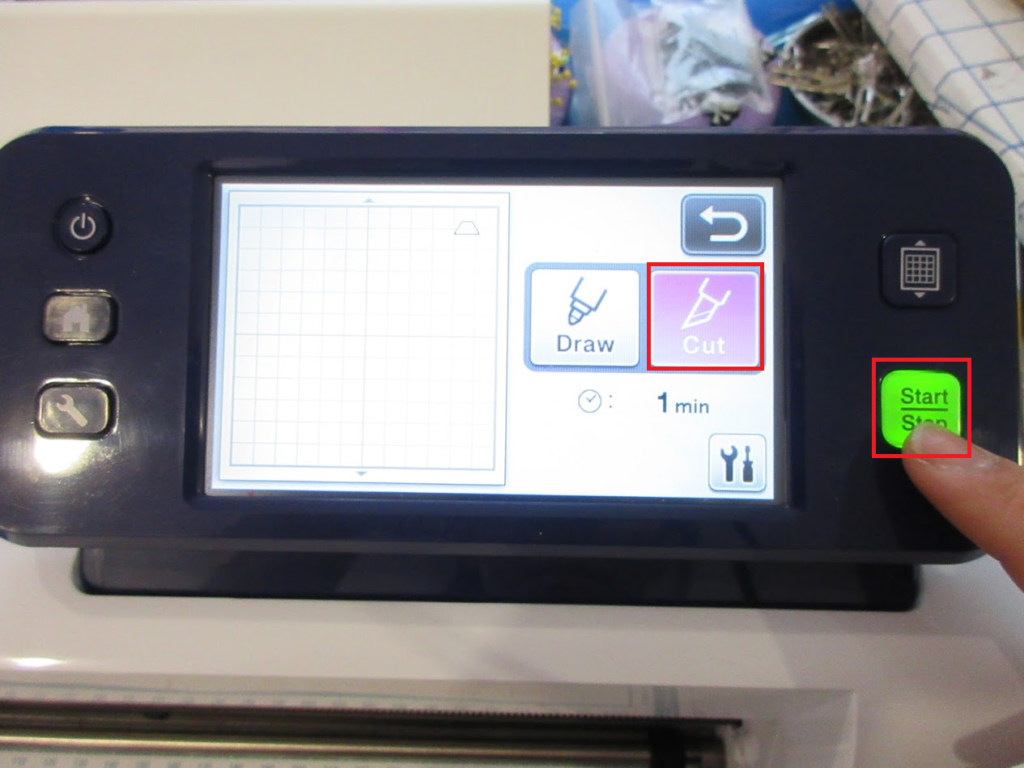
12. Press [Ok] and the next menu shows up.
Select [Cut], then [Start/Stop] to begin cutting.
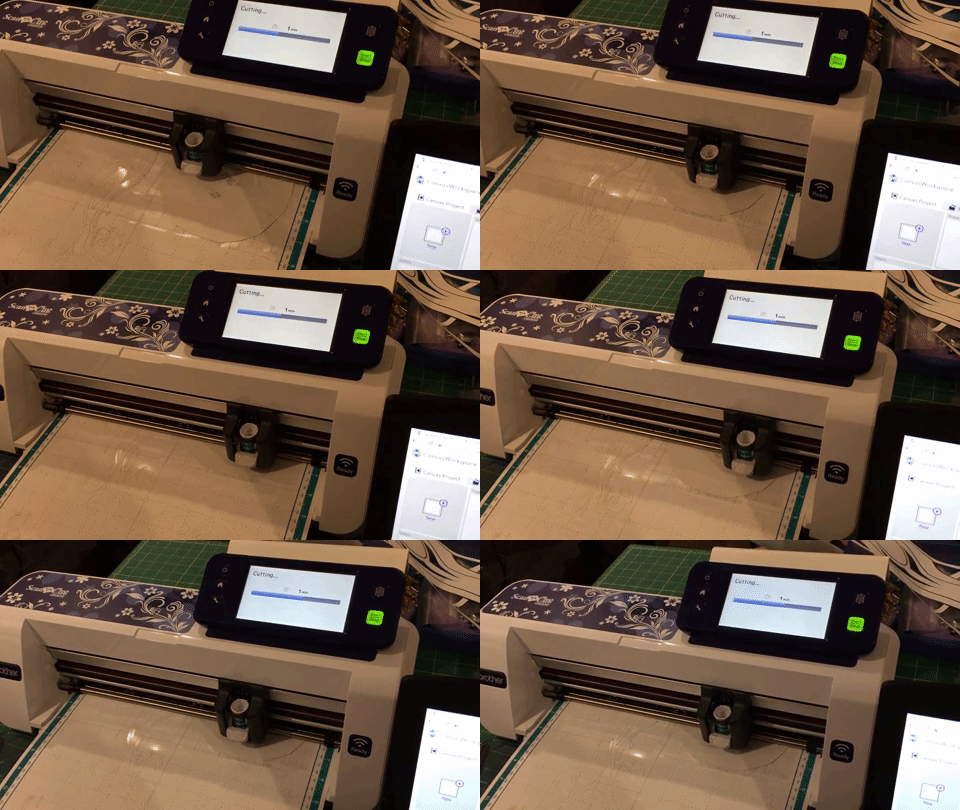
The machine starts cutting.
Press [Ok] once the cut finishes.
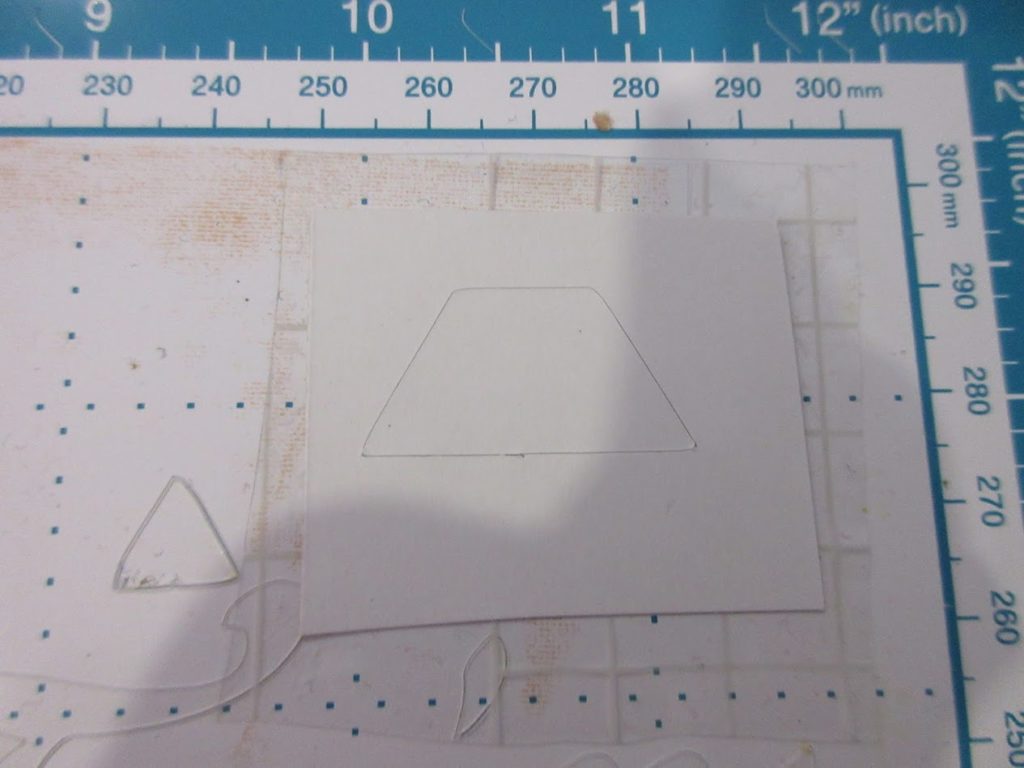
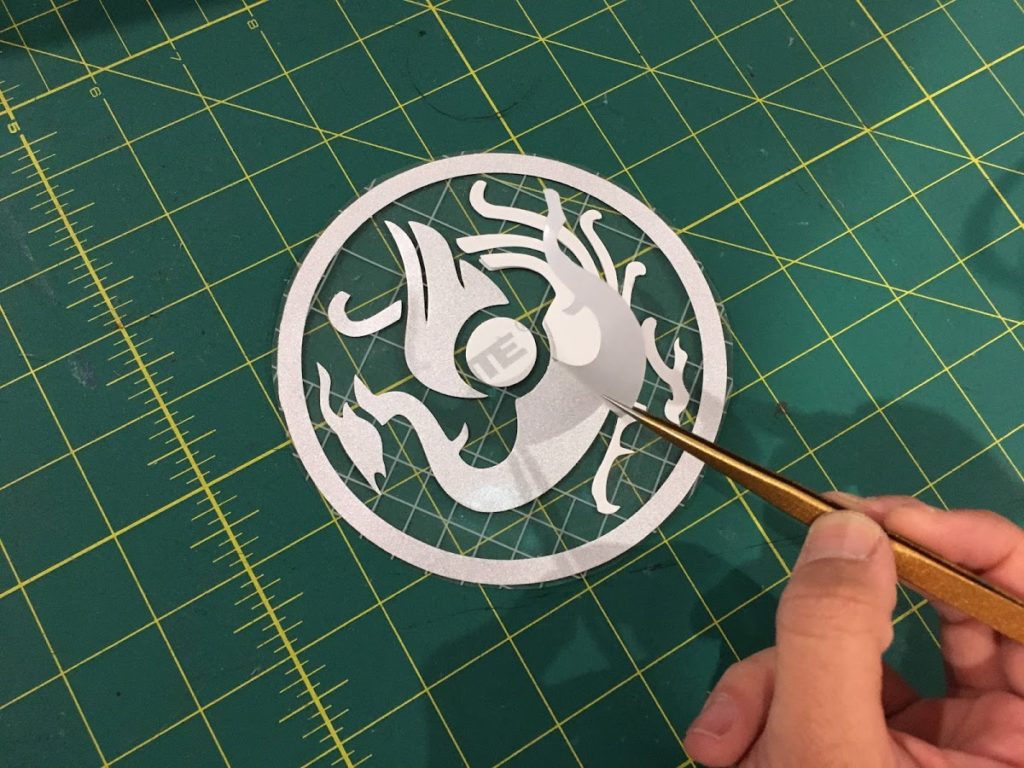
13. The completed cut out will look similar to this:
Carefully use a spatula or your fingernails to gently pry off the vinyl and transfer sheet plastic piece off the cutting mat, and then pry off the surrounding vinyl and its corresponding paper backing material off the cut design.
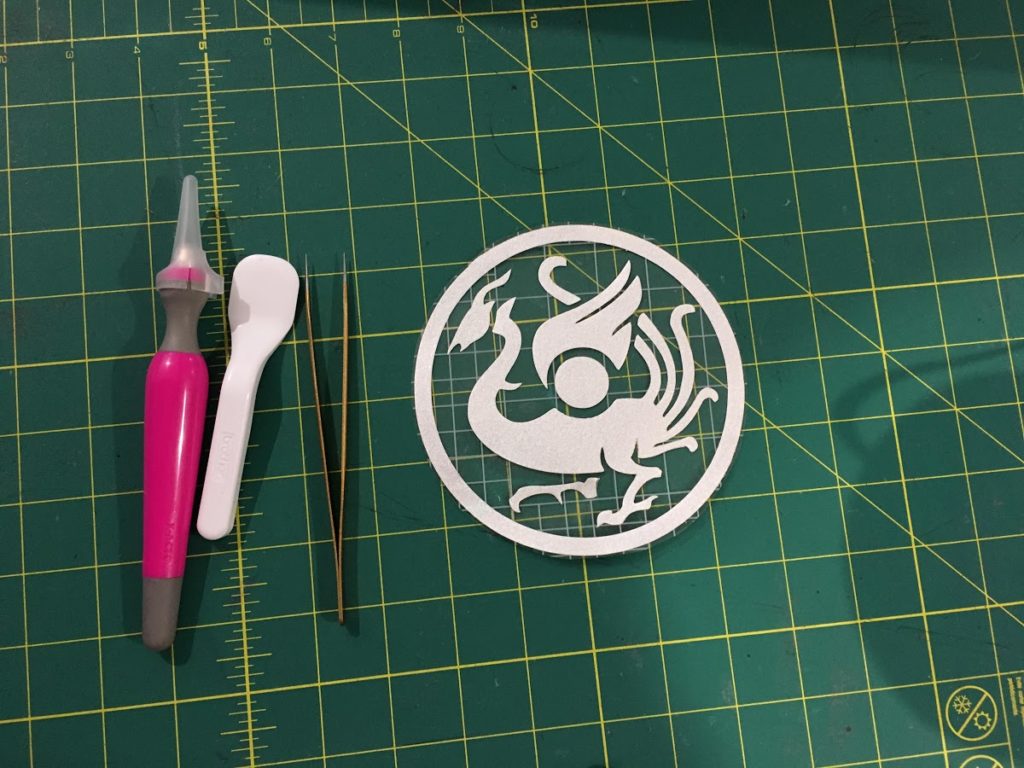
A hobby knife with gentle cut pressure and tweezers can also help in prying off the excess vinyl.
Ensure that the machine did NOT cut through the sticky transfer sheet. If the transfer sheet was cut, it will be a little more difficult to iron the piece on to the fabric.
Ironing the Vinyl
For the next steps, I recommend testing this with small pieces and some like scrap fabric FIRST before putting this on the real deal!
14. Carefully peel off the paper backing from the vinyl. Now the vinyl sticky back is exposed.
Example
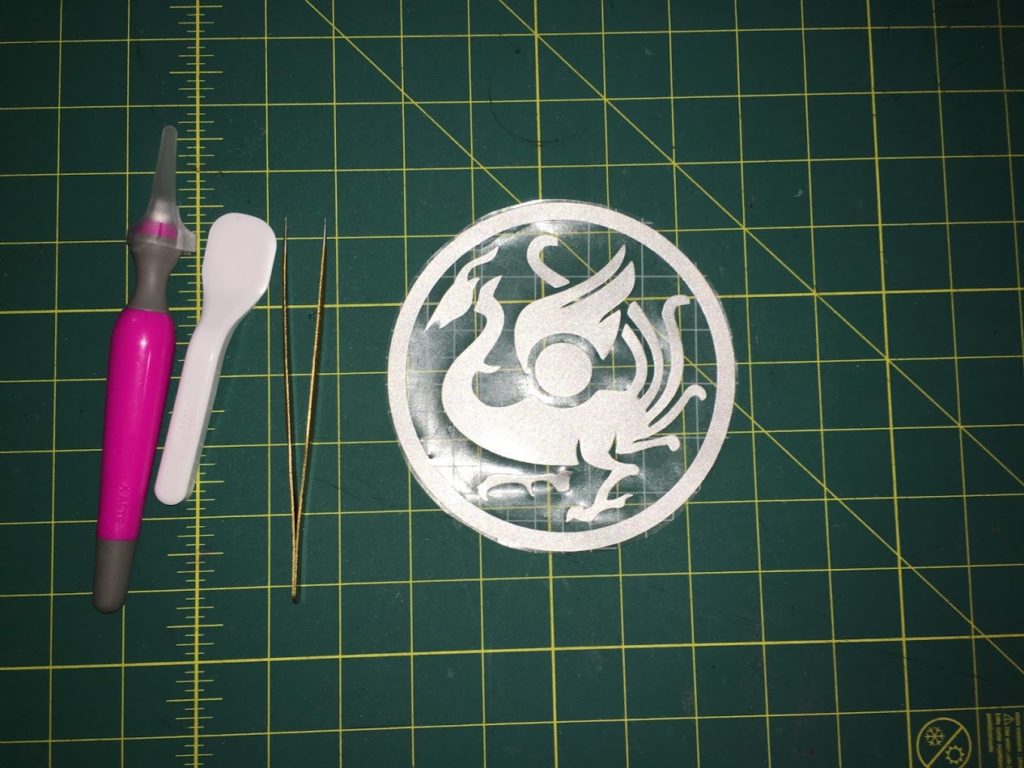
I used a hobby knife, a small spatula, and a pair of tweezers to clean up any remaining cut lines that the machine did not cut through.
15. Trim a margin around the vinyl design.
16. Place the vinyl piece on the fabric.
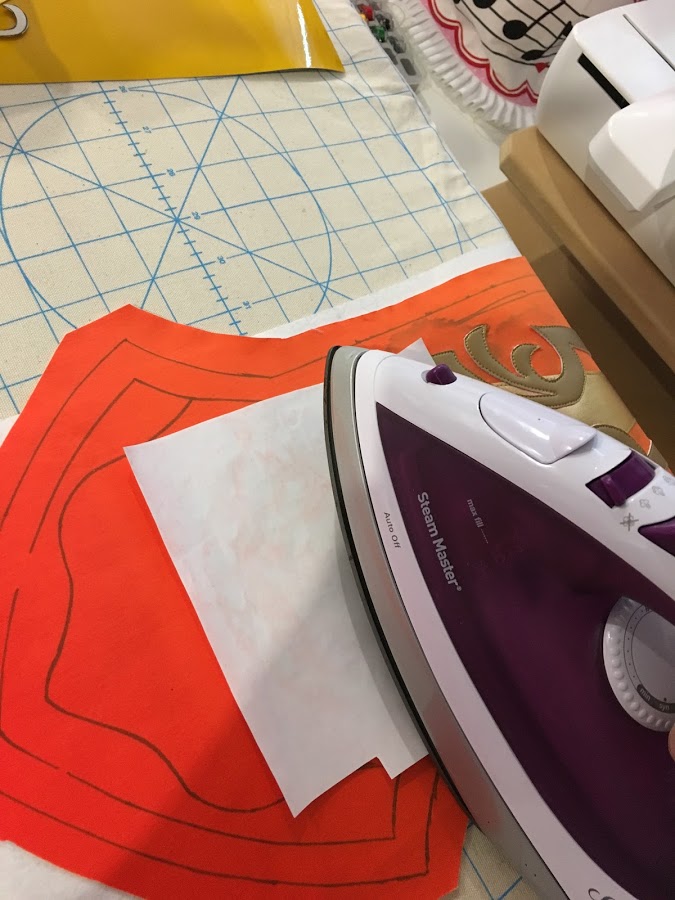
Take the paper backing that was peeled off the transfer sheet, and place this with the shiny side UP and the grid (matte) side down. This goes directly on top of the vinyl sheet placed on the fabric in the previous step. Ensure that the whole vinyl piece is covered underneath.
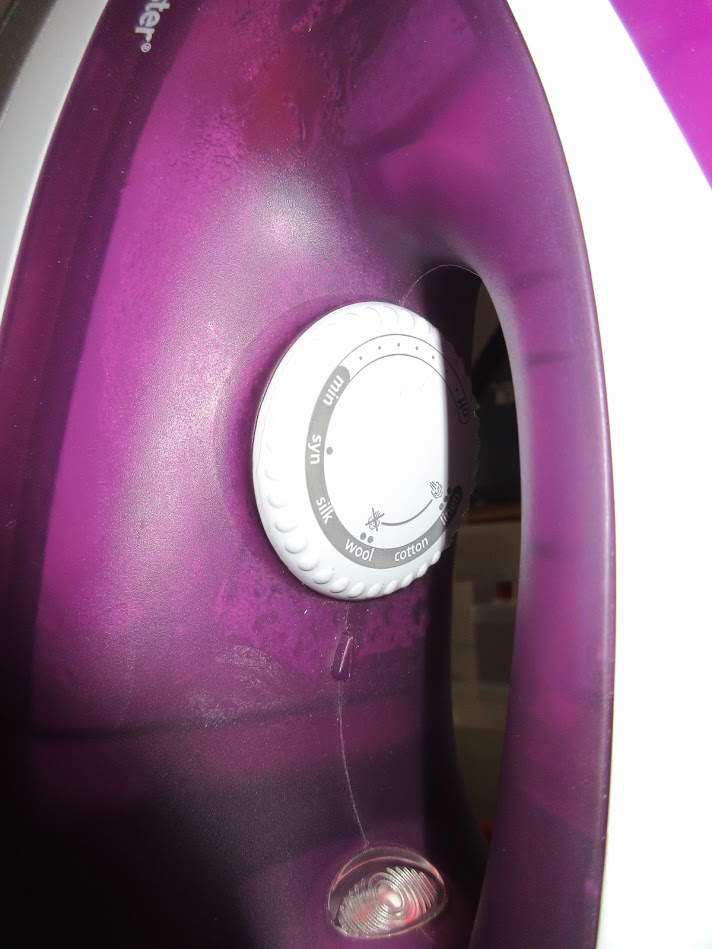
On the iron, adjust the temperature dial accordingly. In this scenario, I set it to around silk – wool.
Note: Not all irons are the same, not all fabrics are the same, and vinyl can be challenging to iron since the material can melt easily under high temperatures. Please test your dial settings to find out what combination works best for your setup.
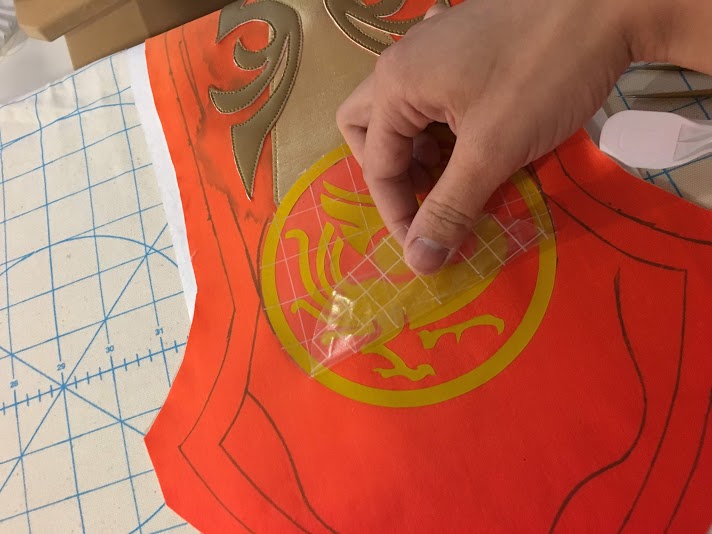
Carefully iron over the paper backing. For materials using a fusible backing like this, do not move the iron around across the surface. Simply place the iron over patches of the paper backing with a few seconds at a time.
Warning: Do not leave the iron placed in a certain area for a prolonged period as the vinyl and/or fabric may warp and produce undesired results. Do not spray this area with water.
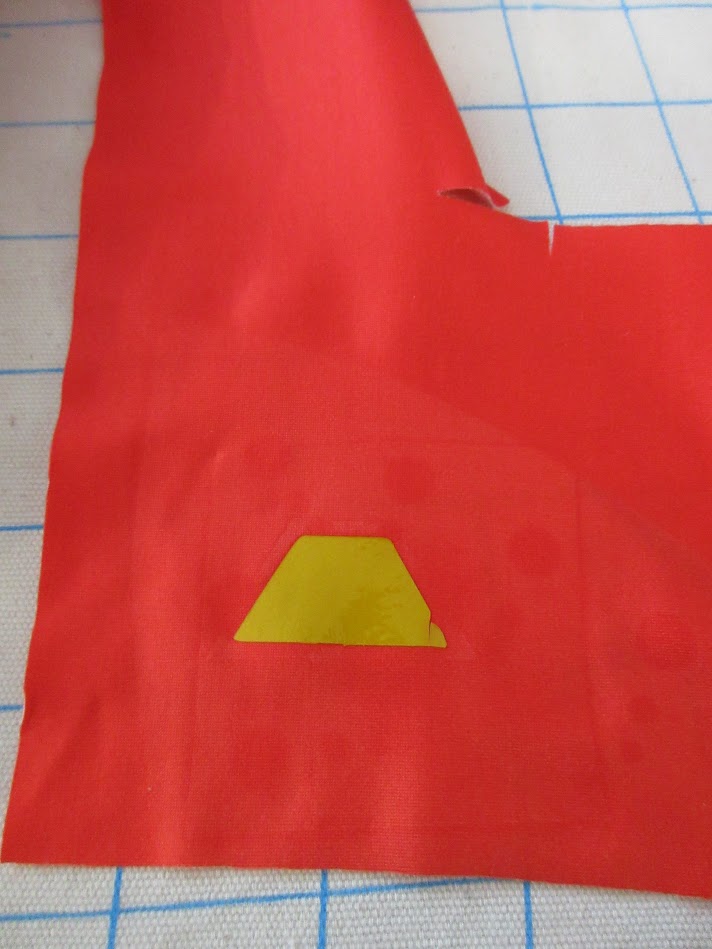
Carefully peel the paper backing and transfer plastic sheet away from the fabric. Some fabric dye may remain on the paper, but ensure that there are no paper backing residues on the fabric. If this is the case, run another test and adjust the iron temperature lower.
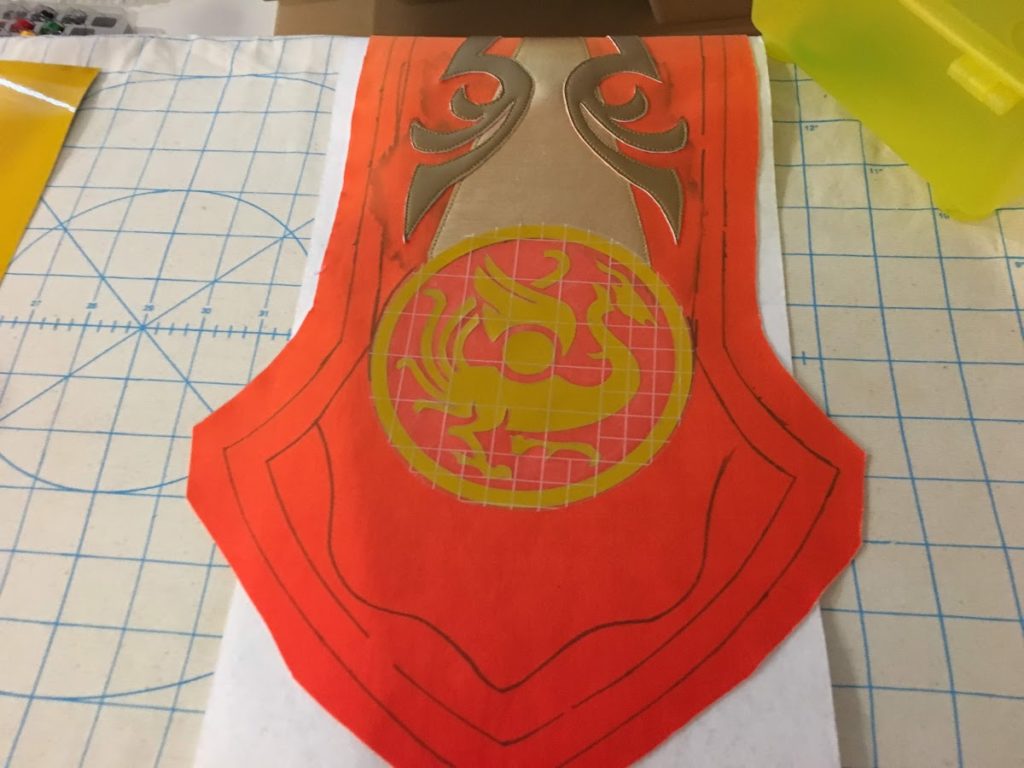
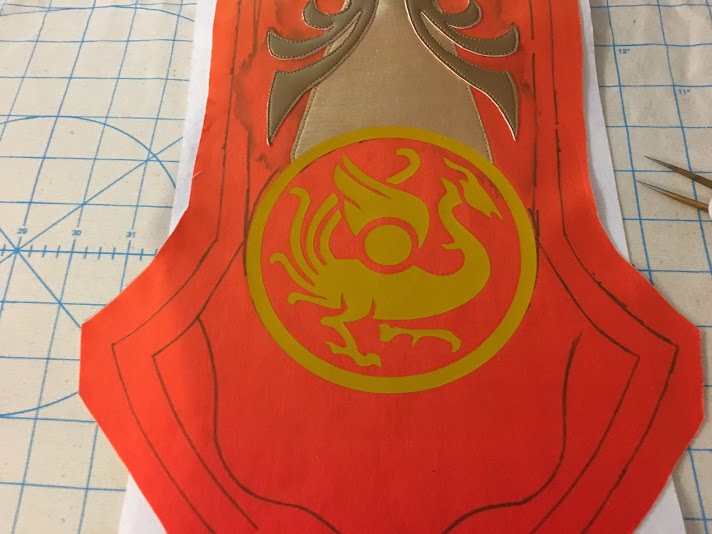
This is how a completed piece should look like.
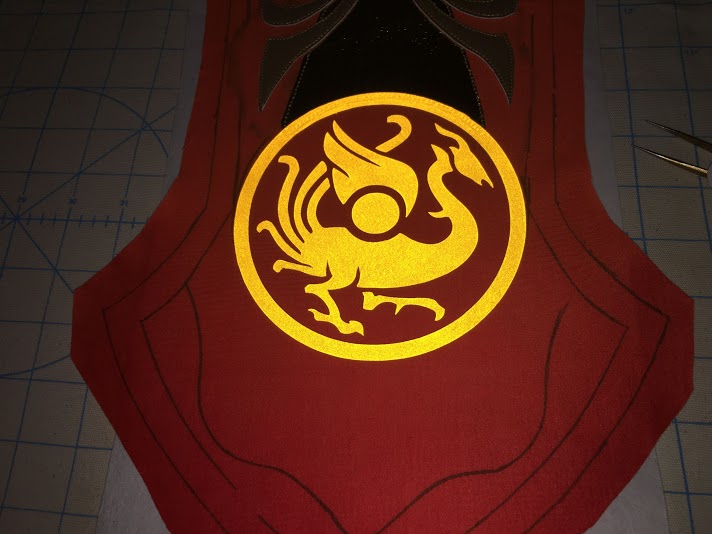
And for reflective vinyl under flash:


